How to Enable Cloudflare with the LiteSpeed Cache Plugin in WordPress
Using Cloudflare to improve WordPress performance is highly effective. Especially when combined with the LiteSpeed Cache plugin, you can maximize the benefits of both caching and CDN. This article outlines the steps to configure Cloudflare with the LiteSpeed Cache plugin.
Creating a Cloudflare Account
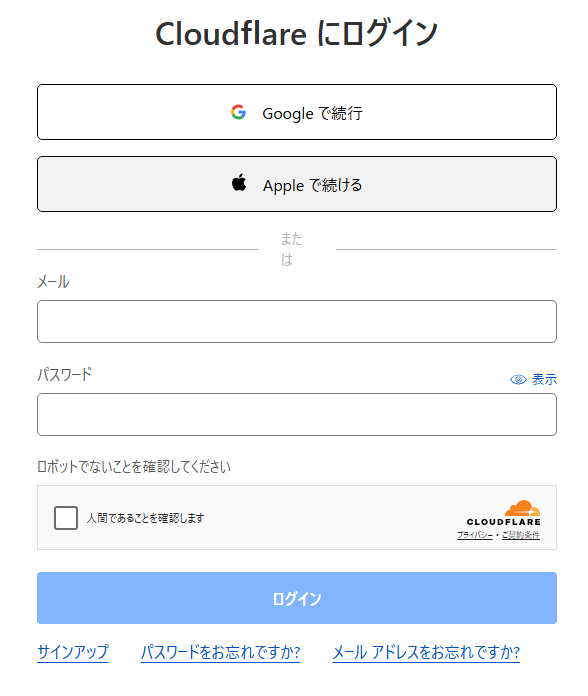
First, visit the official Cloudflare website and create an account. If you already have an account, you can skip this step. In this guide, we logged in using a Google Account.
Obtaining the Global API Key
To integrate LiteSpeed Cache with Cloudflare, you need your Cloudflare Global API Key. Follow these steps to obtain it:
- Log in to Cloudflare.
- Go to “My Profile" > “API Tokens".
- View and copy your “Global API Key".

Note When Logging in with a Google Account
If you created your Cloudflare account using a Google account, you will need a password to obtain your Global API Key. However, accounts created via Google do not have a password set by default in Cloudflare. Therefore, you must reset your password using the following steps:
- Log out of Cloudflare.
- Click “Forgot your password?" on the login screen.
- Enter the email address associated with your Google account.
- Open the URL in the email you receive, and enter the reset code along with a new password.
- Once the new password is set, log back in to Cloudflare.

Configuring Cloudflare in WordPress LiteSpeed Cache
Next, enable Cloudflare within the LiteSpeed Cache plugin.
- In the WordPress dashboard, go to “LiteSpeed Cache" > “CDN".
- Enter your Cloudflare Global API Key, login email address, and target domain.
- Do not turn on Cloudflare API at this stage (it will be enabled in a later step).
Registering Your Domain in Cloudflare
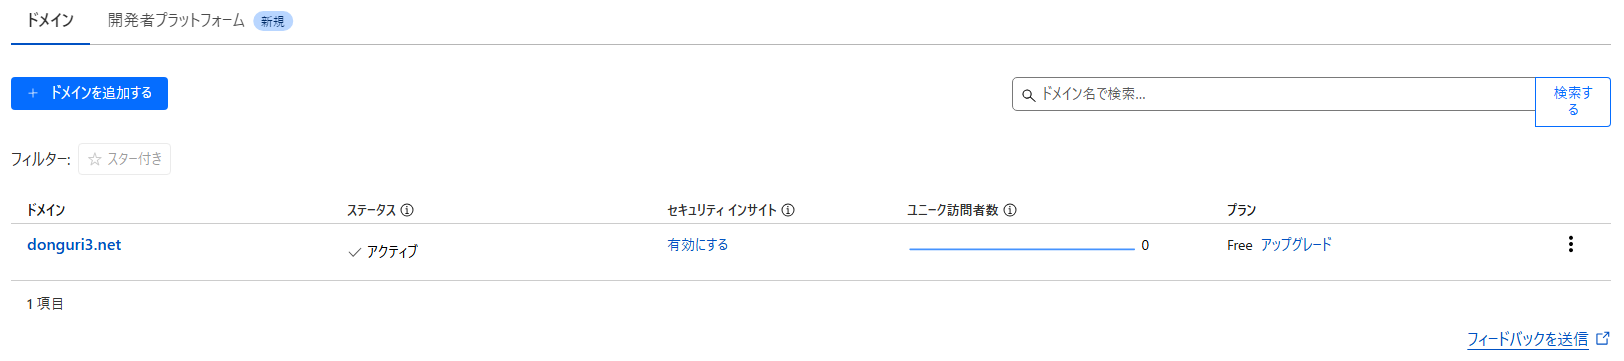
- Click “Add Site" in the Cloudflare dashboard.
- Enter your domain name and run a “DNS Scan".
- Verify that there are no issues with the DNS records and complete the registration.
- Update your nameservers to the ones specified by Cloudflare (e.g.,
camilo.ns.cloudflare.com,clarissa.ns.cloudflare.com). - Wait for the nameserver changes to propagate (this can take up to 24 hours, though it often completes within a few minutes).
Cloudflare Optimization Settings
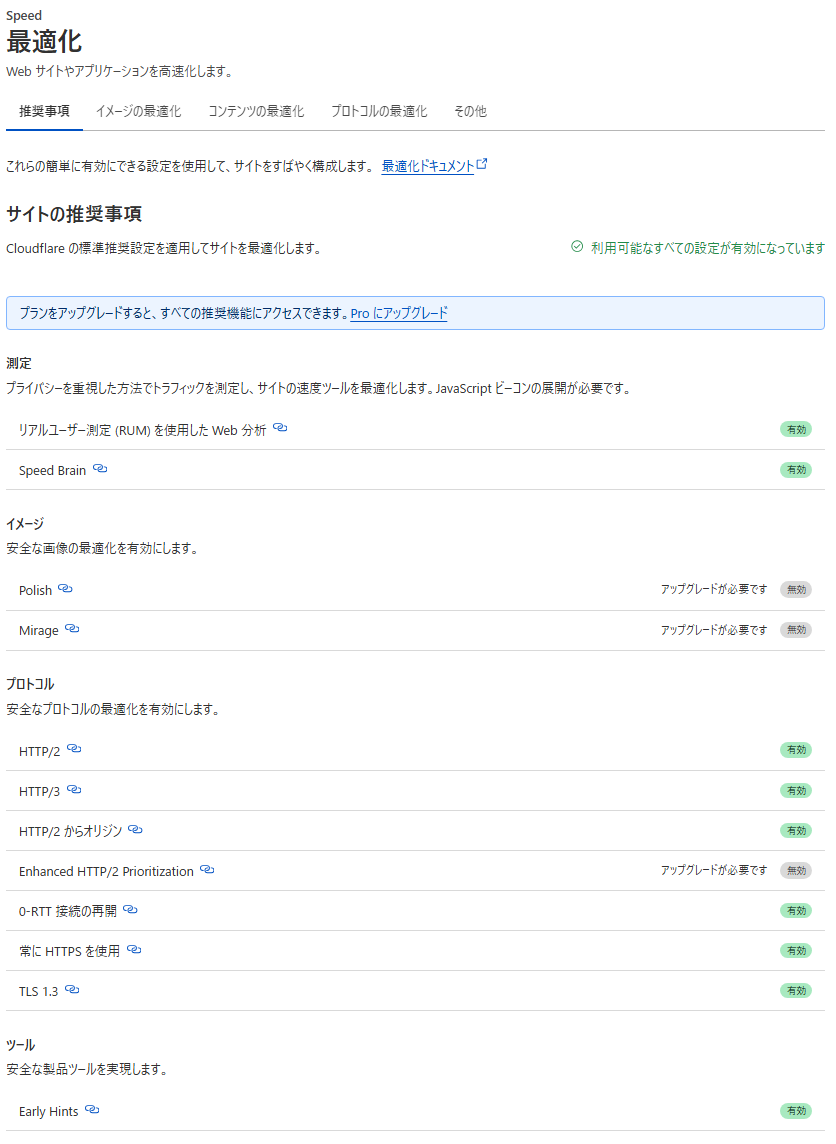
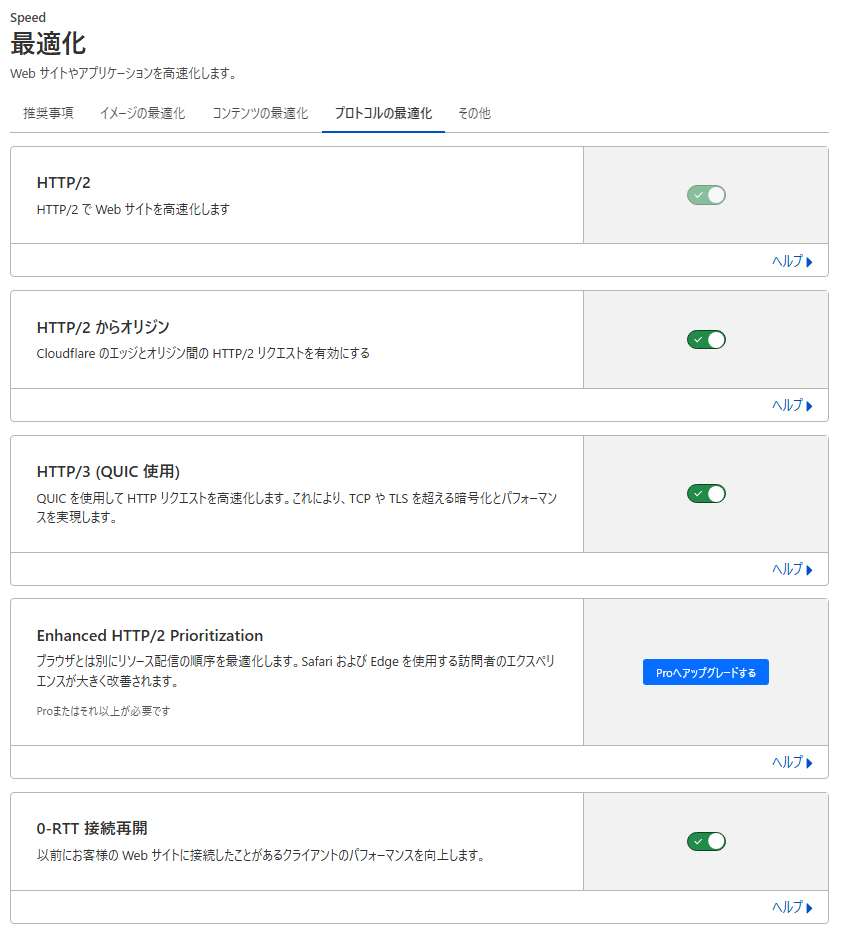
Under Cloudflare’s “Recommended Settings", enable the free optional features that help improve speed.
Enabling Cloudflare API in LiteSpeed Cache
Finally, turn on “Enable Cloudflare API" in the LiteSpeed Cache CDN settings screen to complete the configuration.

Verification Method
After setting up Cloudflare, it is important to actually test your site’s performance. You can check the effects using the following methods:
Page Speed Measurement
- Check your site loading speed using Google PageSpeed Insights or GTmetrix. Once Cloudflare’s CDN is enabled, your loading speed should generally improve.
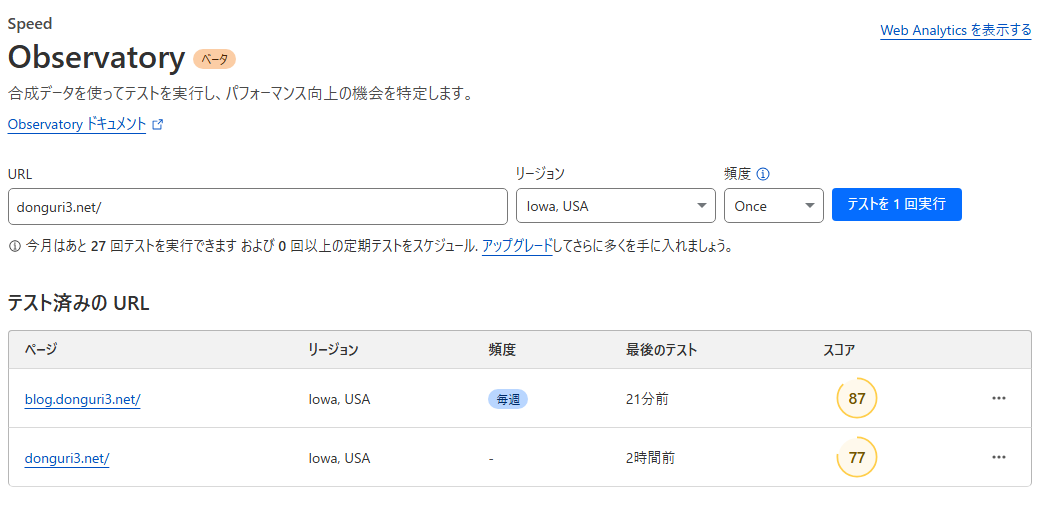
- As a beta feature, you can also check your site loading speed under Cloudflare > Speed > Observatory.
Afterword
Integrating Cloudflare and LiteSpeed Cache is a powerful way to significantly boost website performance. It is particularly effective for high-traffic sites or for users sensitive to content loading speeds. By following the setup steps carefully, you should be able to experience the benefits quickly and effortlessly. Be sure to use the steps introduced here to implement Cloudflare on your site.