How to Enable Caching in WordPress Using QUIC.cloud
One way to speed up a WordPress site is by combining QUIC.cloud with the LiteSpeed Cache plugin. This article explains how to enable caching on your WordPress site using QUIC.cloud.
Installing the LiteSpeed Cache Plugin
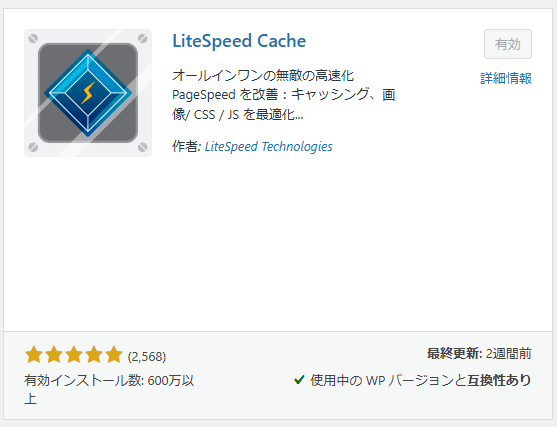
First, install the LiteSpeed Cache plugin on WordPress by following these steps:
- Log in to your WordPress dashboard.
- Select "Plugins" > "Add New" from the menu.
- Type "LiteSpeed Cache" in the search bar and install the plugin from the search results.
- After installation, activate the plugin.
Creating and Configuring a QUIC.cloud Account
To use QUIC.cloud, you need to obtain a "Domain Key" from the LiteSpeed Cache plugin settings.
- Go to the LiteSpeed Cache dashboard.
- Open the "General" tab and click the "Request Domain Key" button.
- Wait a few minutes for the domain key to be verified by QUIC.cloud.

Enabling Cache Settings
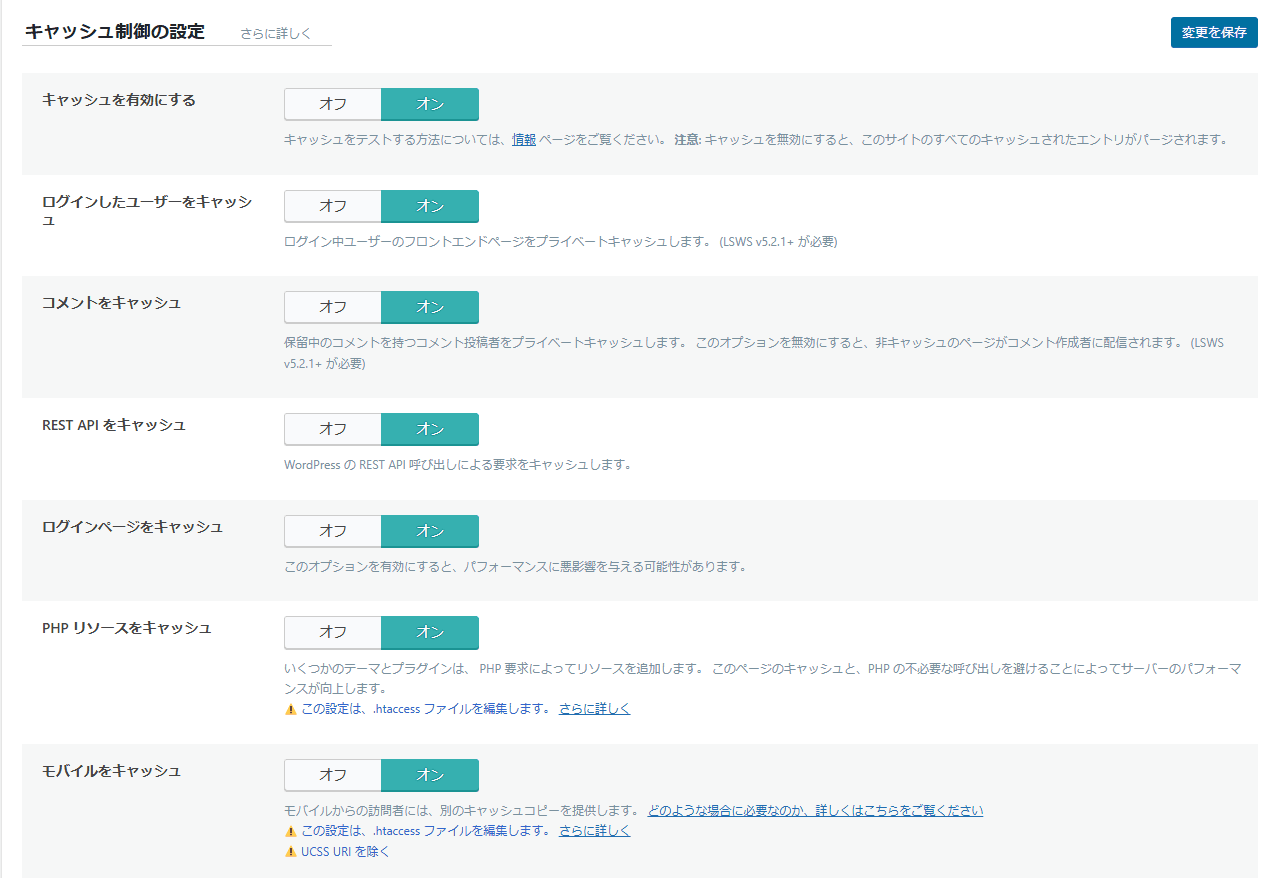
- Go to the "Cache" section.
- Enable the following settings:
- Enable Cache: ON
- Cache Logged-in Users: ON as needed
- Cache Mobile: ON
- Cache TTL: e.g., 3600 seconds
Enabling QUIC.cloud CDN (Optional)
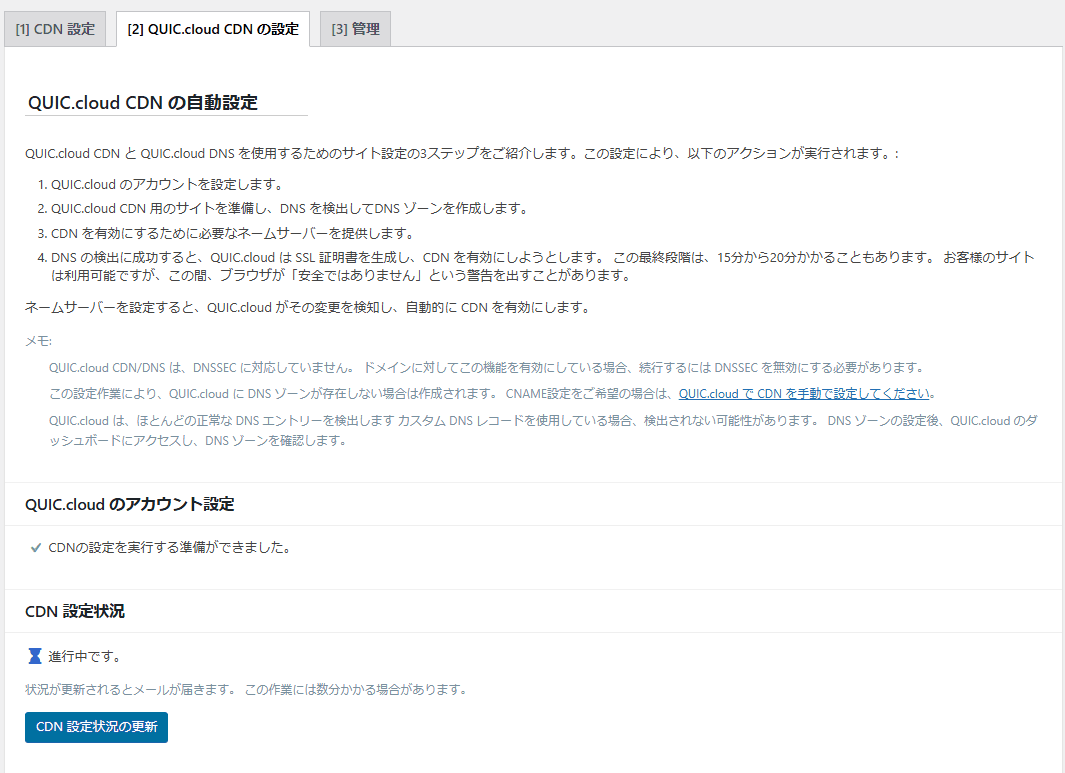
QUIC.cloud also provides CDN functionality to further accelerate page loading times for your site.
- Go to the "CDN" section.
- Enable "QUIC.cloud CDN".
- Adjust the CDN settings in the QUIC.cloud dashboard.
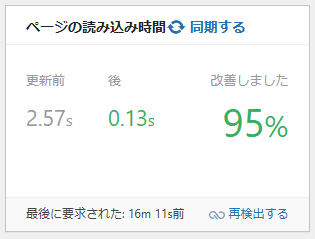
Checking the Results
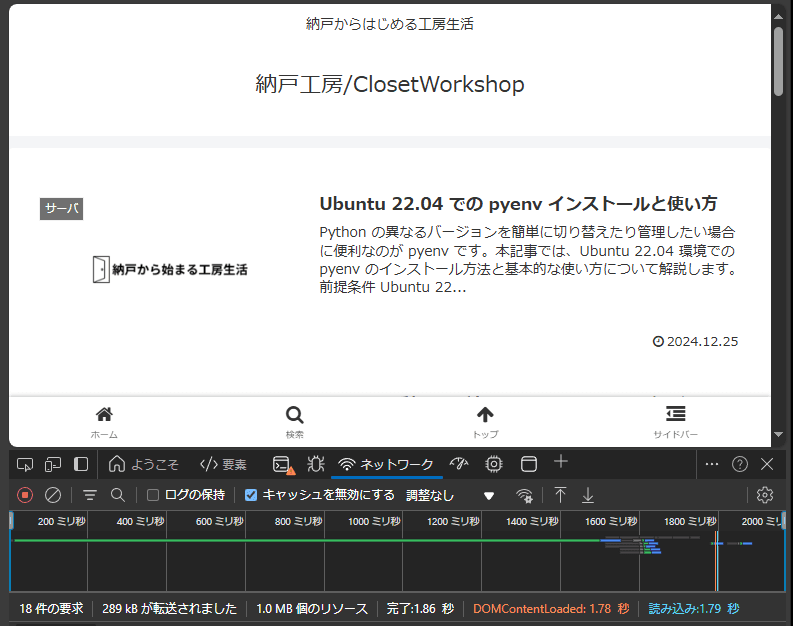
Visit your WordPress site and check if the page loading speed has improved. You can also inspect the cache status in the "Dashboard" tab of the LiteSpeed Cache plugin.
Additional Notes
QUIC.cloud offers both free and paid plans, with certain limitations on the free plan. If you require higher performance, consider looking into the paid plans.
There is a catch, though: if your initial response time is slow to begin with, no amount of rendering optimization will save a fundamentally slow server response.