Budget CNC Modification Diary
This time, I’m sharing the modification log for my favorite budget CNC. While this CNC is surprisingly usable despite its low price, leaving it stock makes you want to tinker with various parts.
About the CNC Unit
The CNC I use is a model called the “3018 pro" purchased on Amazon.
Initially, I tried to buy the same model with a “mini laser" on Aliexpress, but it was refunded without my knowledge and I couldn’t complete the purchase, and the shop even disappeared. So, I bought the same model on Amazon using a 10,000-yen coupon.
Also, it seems that an upgraded model called the “3018-PROVer2“, which wasn’t available back then, is now on sale.
The Spoil-Board Leveling Issue
At first, I used it as-is without worrying much about leveling. However, when looking at the finished pieces, I felt there was a height difference between the edges. Suspecting that the spoil board wasn’t flat, I decided to look for a solution.
Purchasing MDF at a 100-Yen Shop
As an easy-to-try material, I bought some MDF boards sold at a 100-yen shop. I decided to attach these MDF boards to the CNC bed and mill the entire surface to flatten it.
Checking the Left-to-Right Height Difference
As soon as I ran the CNC to mill the entire MDF surface, it turned out that the left side was lower by a few millimeters! This confirmed that the bed wasn’t level. However, by using this freshly milled MDF board as-is, the surface becomes properly leveled. What a relief.
Not Over-Pursuing Precision
To increase precision further, I would need to check whether the drill bit itself is tilted. While this can be adjusted using specialized gauges and tools, such high precision isn’t necessary for now, so I decided to proceed with this setup for the time being.
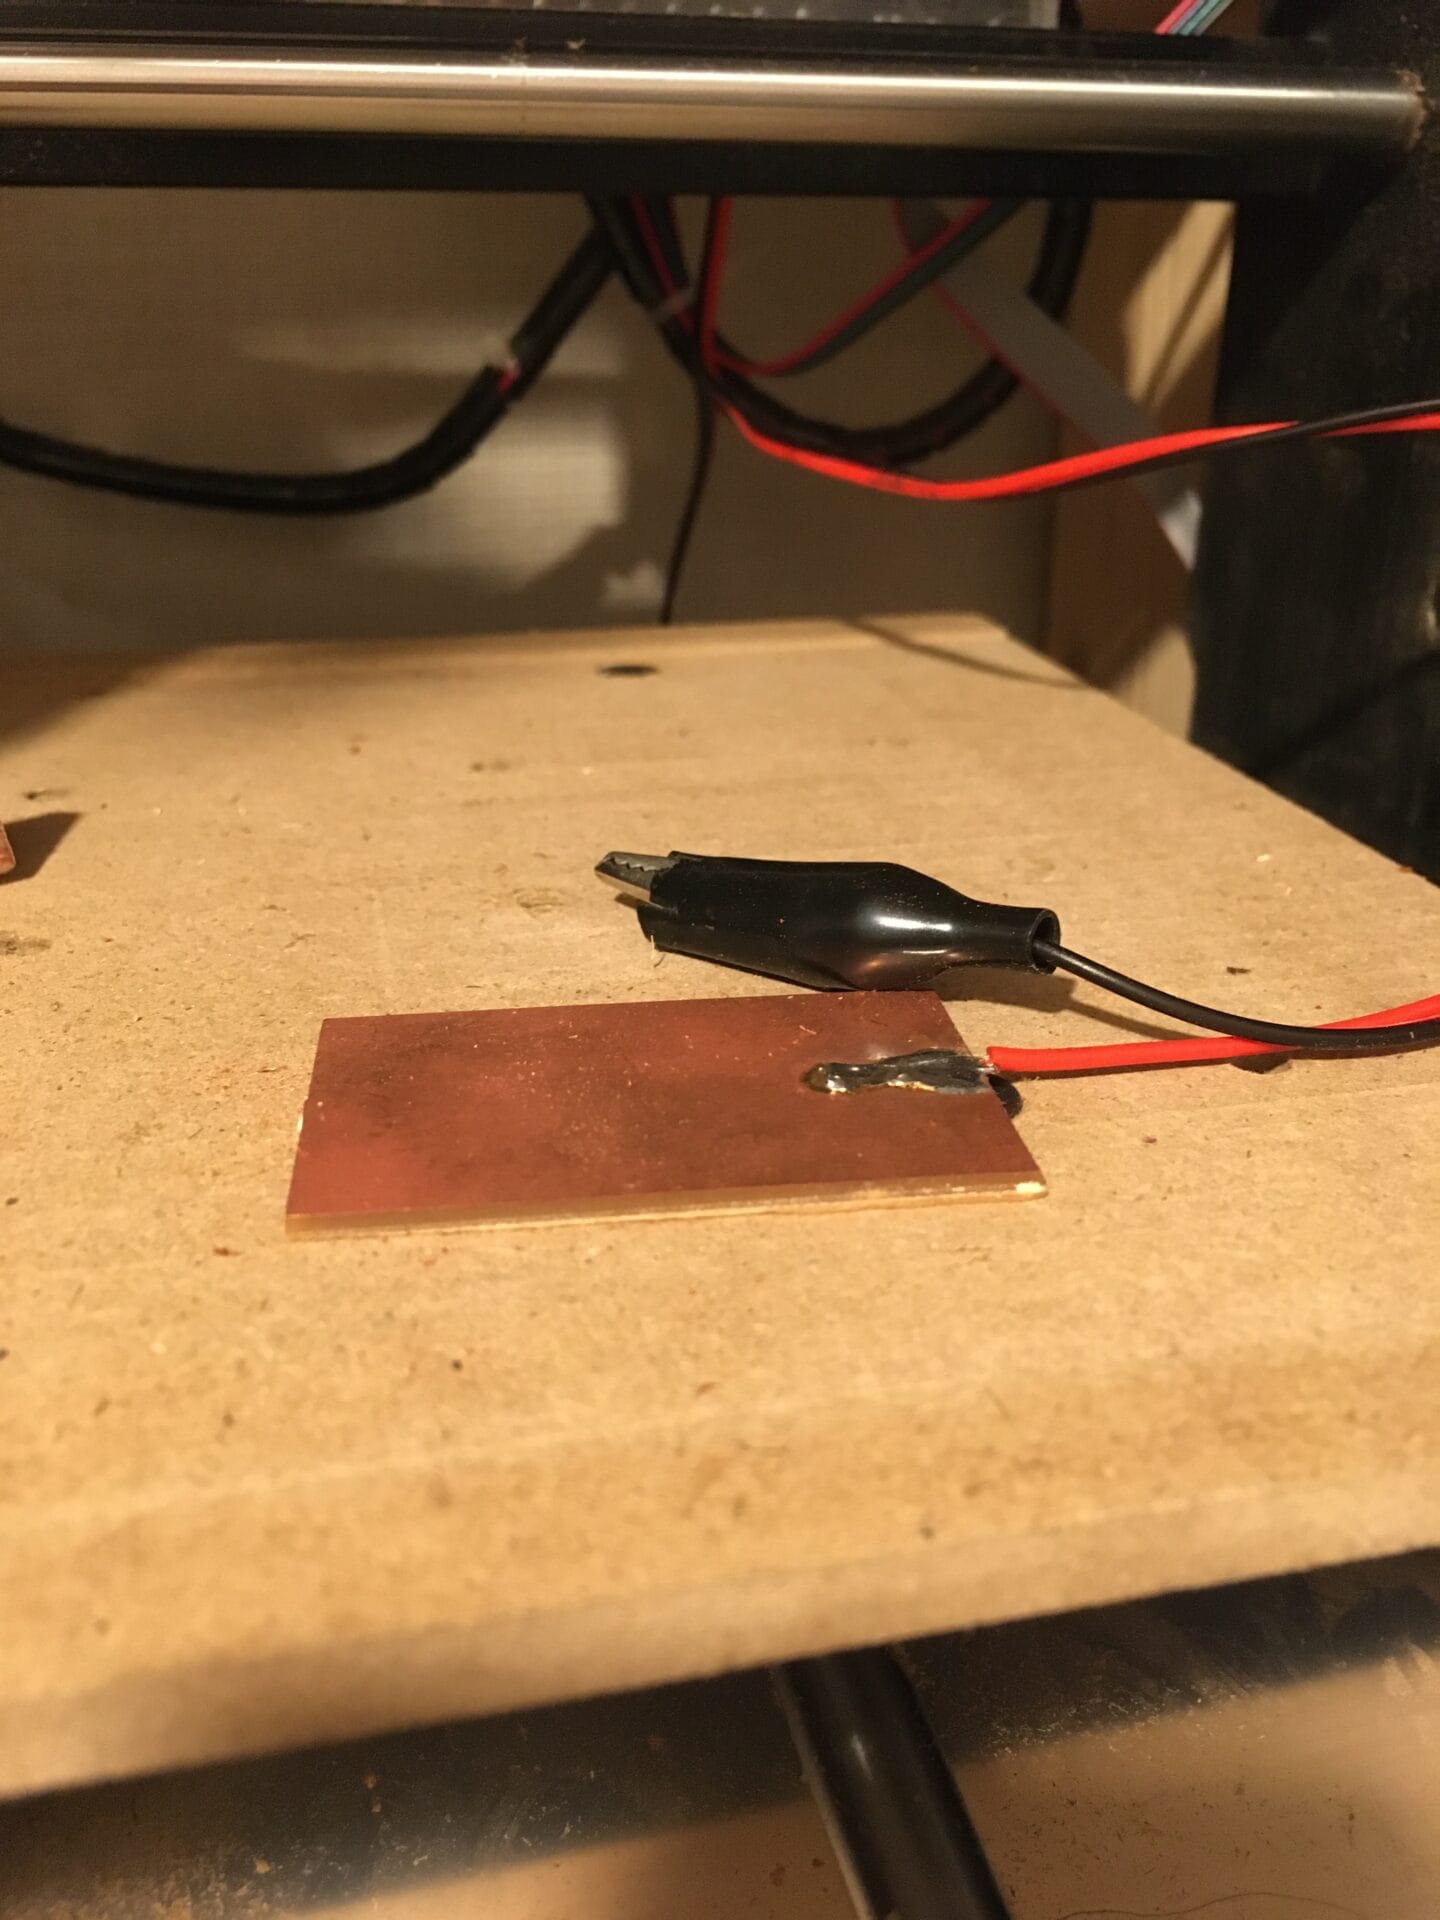
Installing a DIY Probe
The next thing I did was make and install a DIY probe. This made it much easier to find the zero point before starting work and improved machining accuracy. I’ve included a photo, and I hope it serves as a helpful reference for anyone looking to build their own.
Installing a Mini Bench Clamp
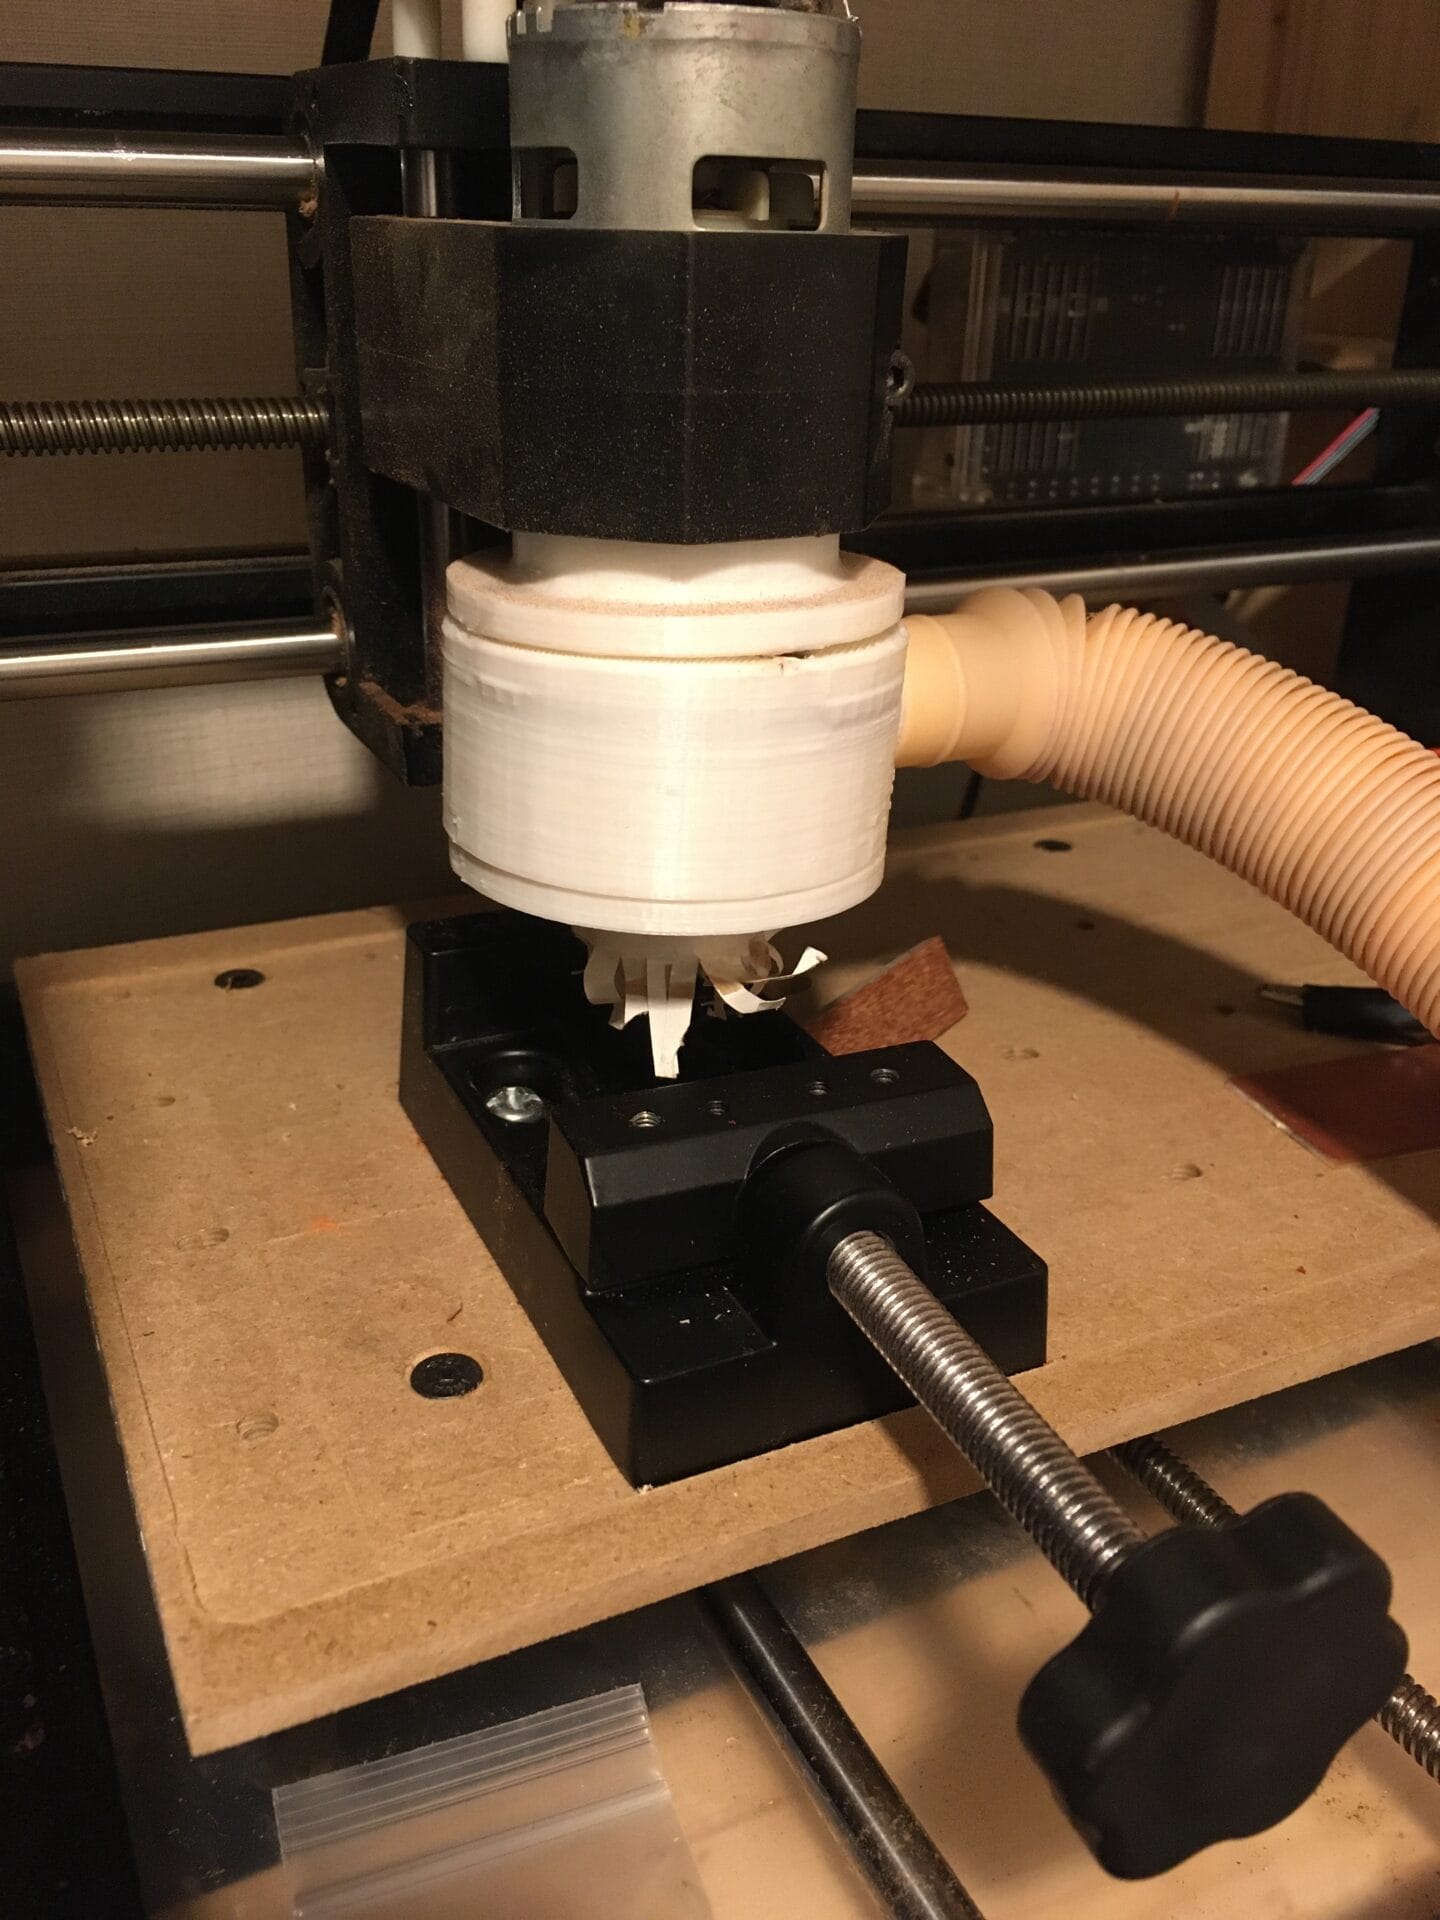
I mounted a mini bench clamp onto the leveled MDF board. First, I drilled holes to secure the clamp and carefully fastened it with screws to prevent any tilting. This makes securing small parts dramatically easier and broadens the range of work I can do.
Installing a Cyclone Dust Collector
Next, I installed a nozzle to efficiently vacuum up wood chips. This reduced dust during operation and significantly improved the working environment. I’ve also made adjustments to ensure a smooth connection with the cyclone dust collector.
Installing an Emergency Stop Button
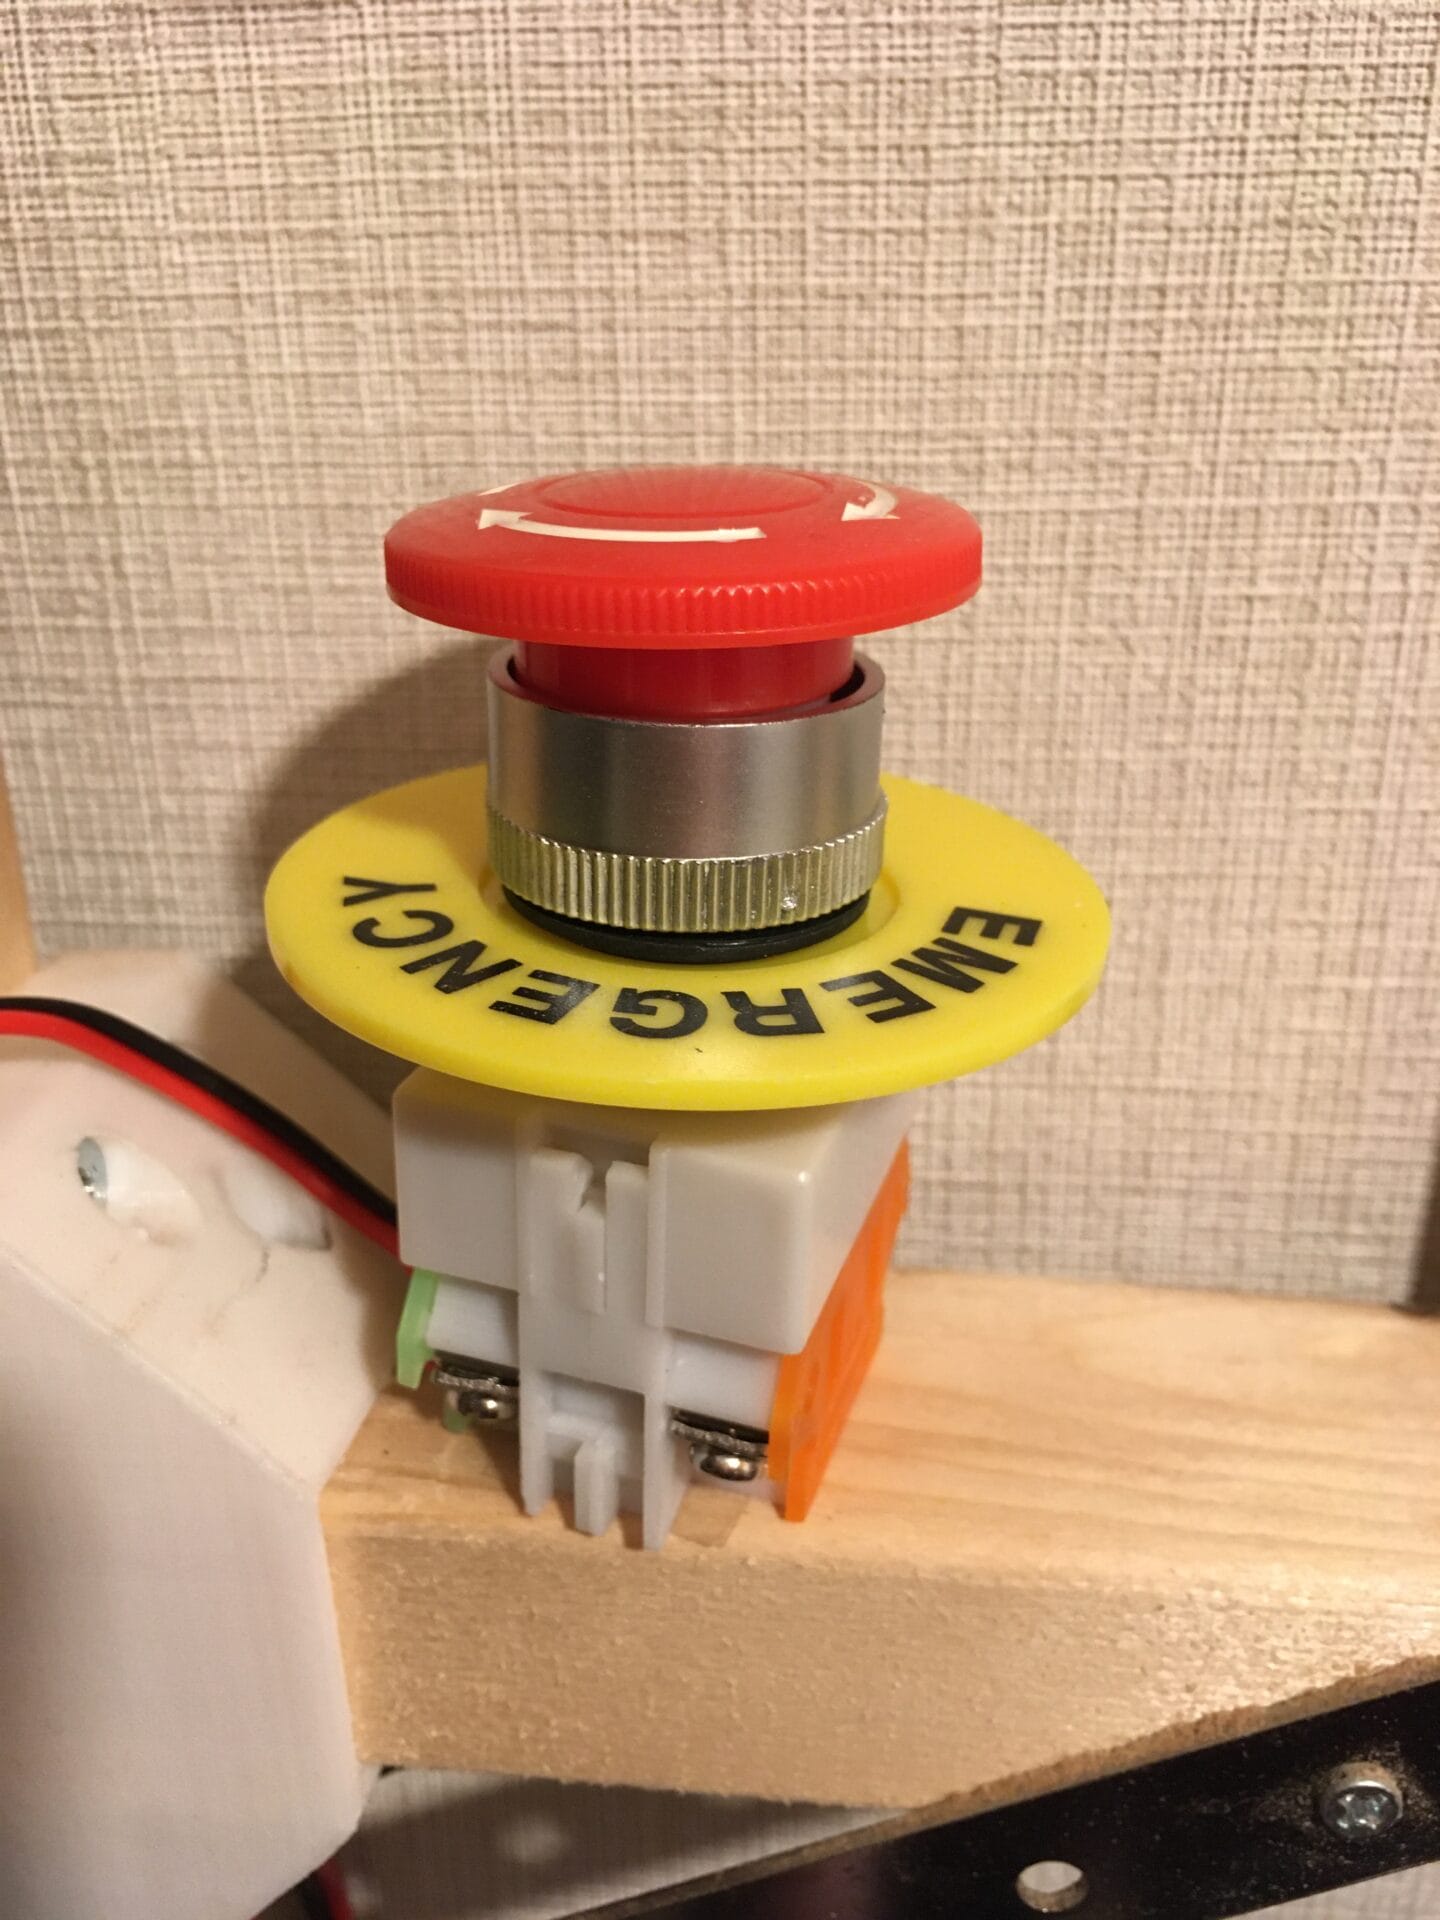
The last addition was an emergency stop button, for which I’ve also provided a photo. Having the peace of mind of being able to halt operations instantly in an emergency is huge. Once installed, this button turns out to be surprisingly large and has quite a strong presence.
Conclusion
These modifications have made the CNC much easier to use. In particular, leveling the spoil board and installing the emergency stop button improve both peace of mind and practicality. Next, I’m thinking about fine-tuning the drill alignment or taking on other modifications.
I encourage everyone to try tweaking your own machines as well. A little ingenuity goes a long way in dramatically improving usability!