Running OpenLiteSpeed + WordPress with the Official OpenLiteSpeed Docker Image
This article explains how to run OpenLiteSpeed using its official Docker image and set up WordPress on top of it. It also covers the steps to configure a reverse proxy for an existing web server running in another container, allowing it to be accessed from within the OpenLiteSpeed container.
How to Use the OpenLiteSpeed Container (ols-docker-env)
We will use the official ols-docker-env.
Basic Startup
docker compose up -dCustomizing Configurations
- It is recommended to change the database password and DB name as appropriate.
- If you change the
container_nameindocker-compose.yml, you will also need to update the scripts in thebindirectory (such asdomain.shanddatabase.sh). - To access an existing Docker Network, add the following configuration to
docker-compose.yml.
networks:
  <既存network名>:
    external: true
Setting Up WordPress
- Add a domain using
bash bin/domain.sh [-A, --add] example.com. - Create a database for WordPress by running
bash bin/database.sh [-D, --domain] example.com [-U, --user] USER_NAME [-P, --password] MY_PASS [-DB, --database] DATABASE_NAME. - Install WordPress using
bash bin/appinstall.sh [-A, --app] wordpress [-D, --domain] example.com.
Configuring the OpenLiteSpeed Reverse Proxy
Virtual Host Configuration
- Access the OpenLiteSpeed admin panel and select
Virtual Hostfrom the side menu.
Set the password for the administrative user (admin) with the following:bash bin/webadmin.sh my_password - Add a
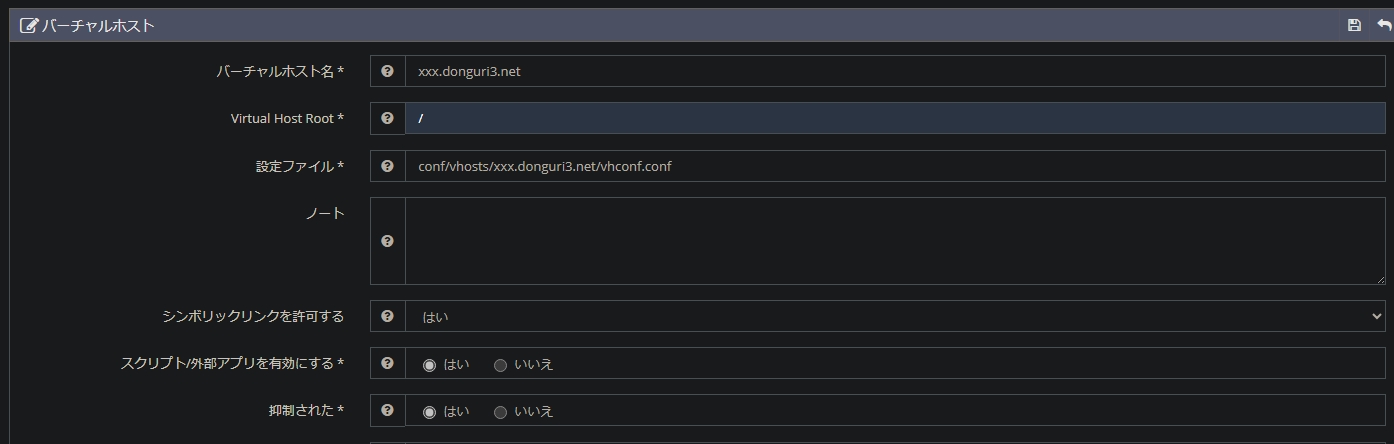
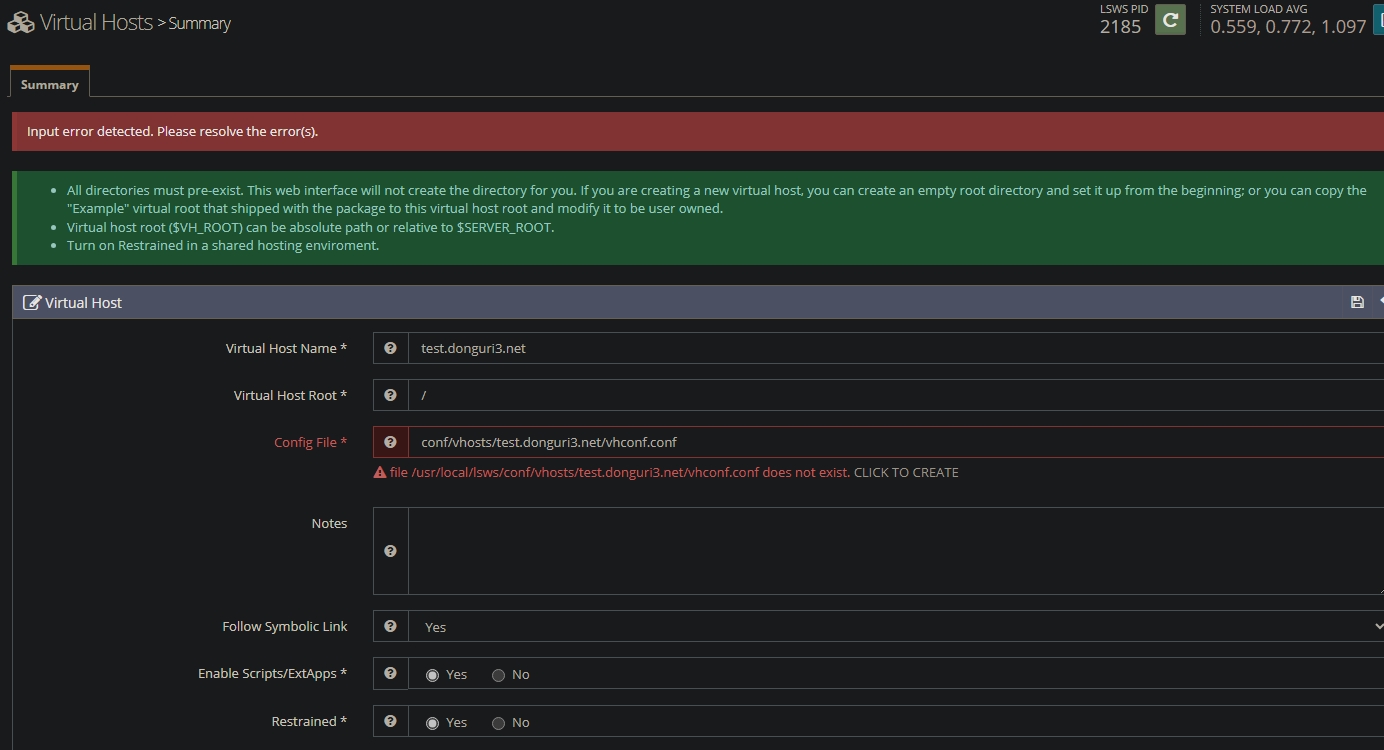
Virtual Host.- Virtual Host Name: Any desired name
- Virtual Host Root:
/var/www/vhosts/$VH_NAME/ - Config File (Example): conf/vhosts/<Virtual Host Name>/vhconf.conf
If the file does not exist, there is a CLICK TO CREATE button to create it. - Enable Script/ExtApps:
Yes - Restrained:
Yes


- Set
Document Rootin theGeneraltab to/var/www/vhosts/$VH_NAME/. - Create a directory named
$VH_NAMEinside thesitesdirectory.
Proxy Configuration
- Add the following to
External App.- Name:
$VH_NAME(a unique name; using $VH_NAME works fine) - Address: The address of the forwarding target web server (e.g.,
http://backend:8080)
- Name:
- Add a
ProxytoContext.- URI:
/(Root) - Web Server: Select the one configured in
External App.
- URI:
Listeners Configuration
- Select
Listeners. - Select the protocol you want to forward (HTTP/HTTPS) and add a
Virtual Host Mapping.- Virtual Host: The one added earlier
- Domain: The domain name you want to forward (can be the same as the Virtual Host)
- Click the Restart button in the upper right corner to apply the changes.
Verification
Once the configurations are applied correctly, accessing the target URL will display the web server’s content through the existing Docker Network.