How to Blink an LED Using Thonny and a Raspberry Pi Pico Compatible Board
In this guide, we will walk you through how to blink the onboard LED on a Raspberry Pi Pico compatible board using Thonny, a Python IDE. To make it easy for beginners, we will explain the entire process step-by-step, from initial setup to running the program.
What You Need
- Raspberry Pi Pico Compatible Board
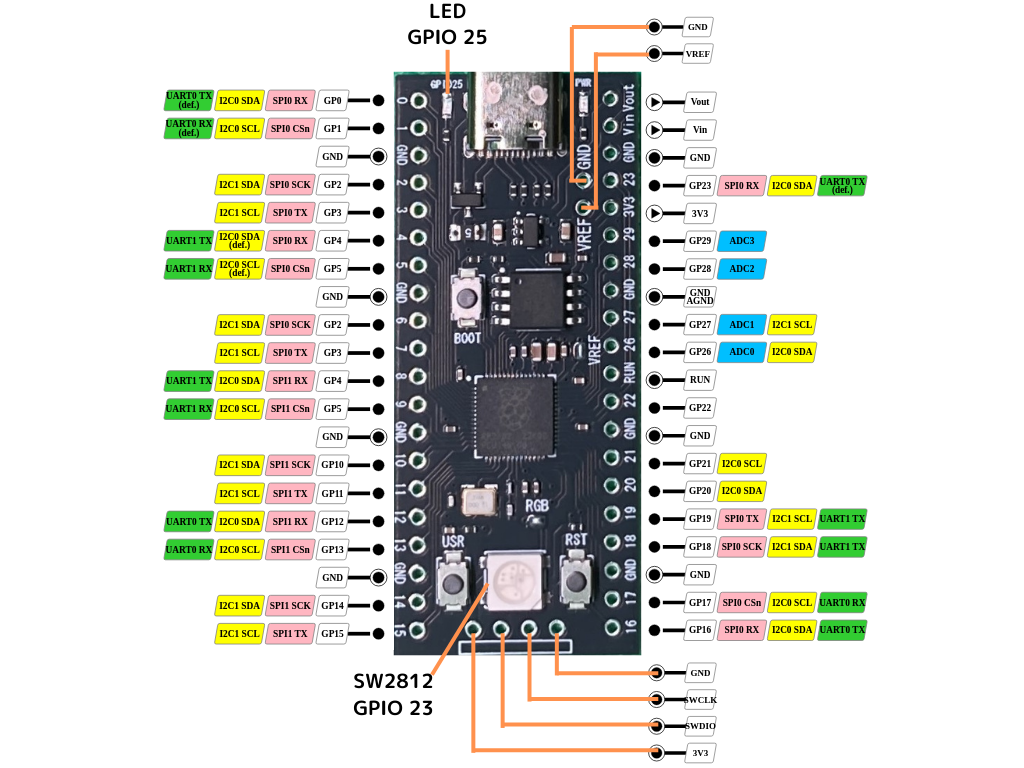
The Pico board itself with an onboard LED (typically connected to GPIO25)

- PC
A computer equipped with a USB port - Thonny App
An integrated development environment for Python. Download the latest version from the official website.
Steps
Initial Setup of Thonny
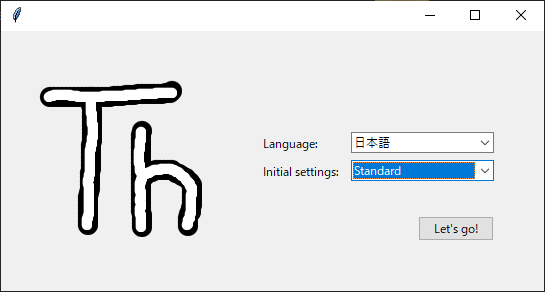
- When you launch Thonny for the first time, the initial settings screen will appear.
- Here, select the “standard" mode instead of “Raspberry Pi (simple)".
*Selecting standard mode makes it easier to use extensions such as MicroPython.
2. Connecting the Pico to the PC
- Connect the Pico to your PC’s USB port while holding down the BOOTSEL button.
*Connecting while holding the boot button starts the device in bootloader mode, allowing you to flash the firmware.
3. Installing MicroPython via Thonny
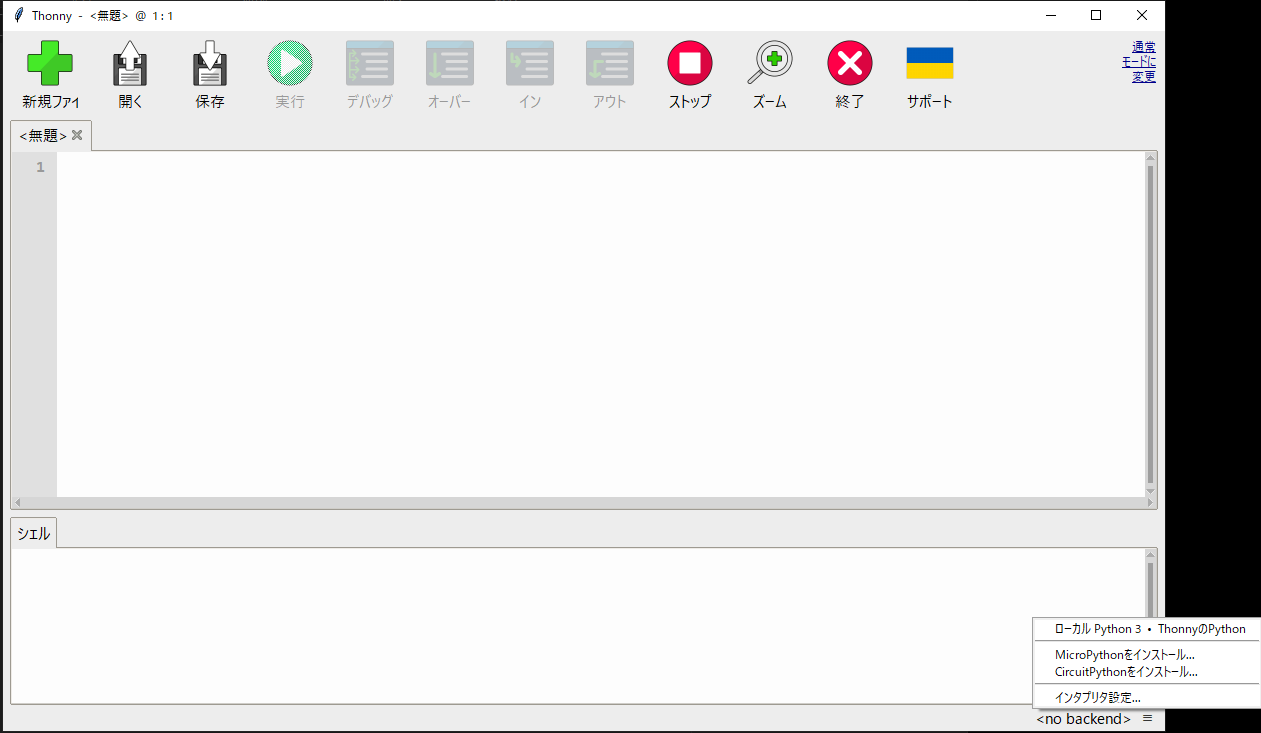
- Click on the bottom-right corner of the Thonny window and select “Install MicroPython".
- From the displayed list, choose the following settings:
- MicroPython family: RP2
- Variant: Raspberry Pi · Pico / Pico H
- Version: 1.24.1 (*Generally, selecting the latest version is fine)
- Once the installation is complete, the board with MicroPython installed will be displayed in the bottom right of the Thonny window, confirming a successful connection.
4. Creating a New Script File
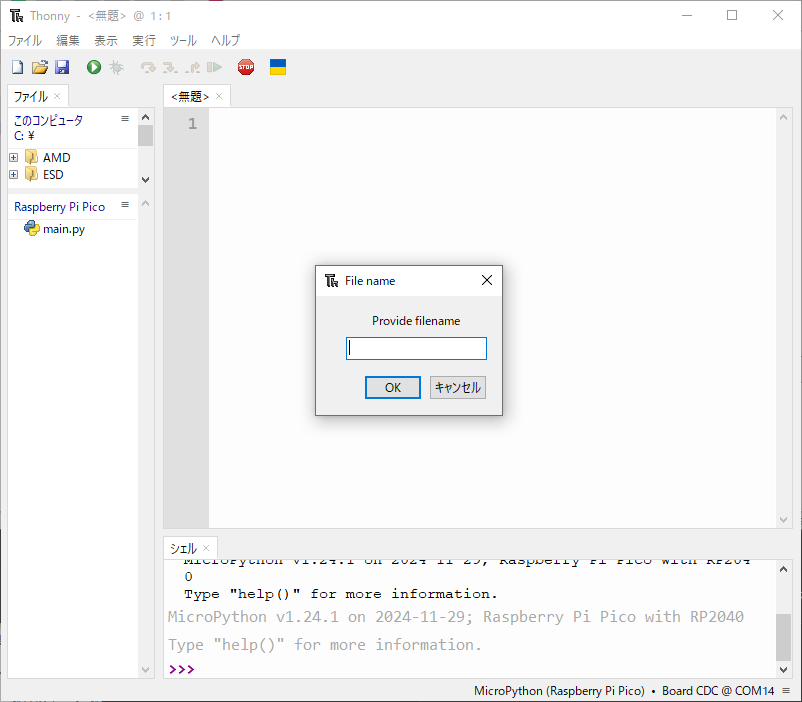
- In the device tree for Raspberry Pi Pico displayed on the left side of Thonny, right-click and select “New file".
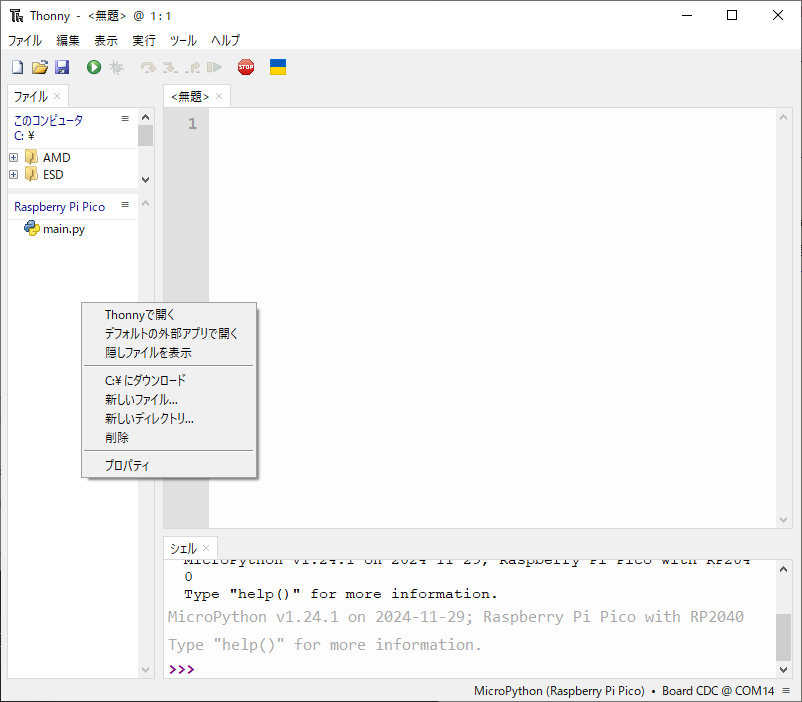
- Name the new file “main.py".
*Since the Pico automatically reads main.py upon startup, any program written here will run automatically.
5. Writing Code in main.py
Enter the following code into the newly created main.py file.
import time
from machine import Pin
led = Pin(25, Pin.OUT)
while True:
    led.value(1)
    time.sleep_ms(500)
    led.value(0)
    time.sleep_ms(500)
This is a simple program that repeatedly turns the onboard LED on and off every 500 milliseconds.
6. Verifying Script Operation
- Click the Run button at the top of Thonny to check if the current script works correctly.
*If the LED blinks regularly, it’s a success.
7. Saving the Program to the Board and Auto-Execution
- Once you confirm it works properly, save main.py onto the board.
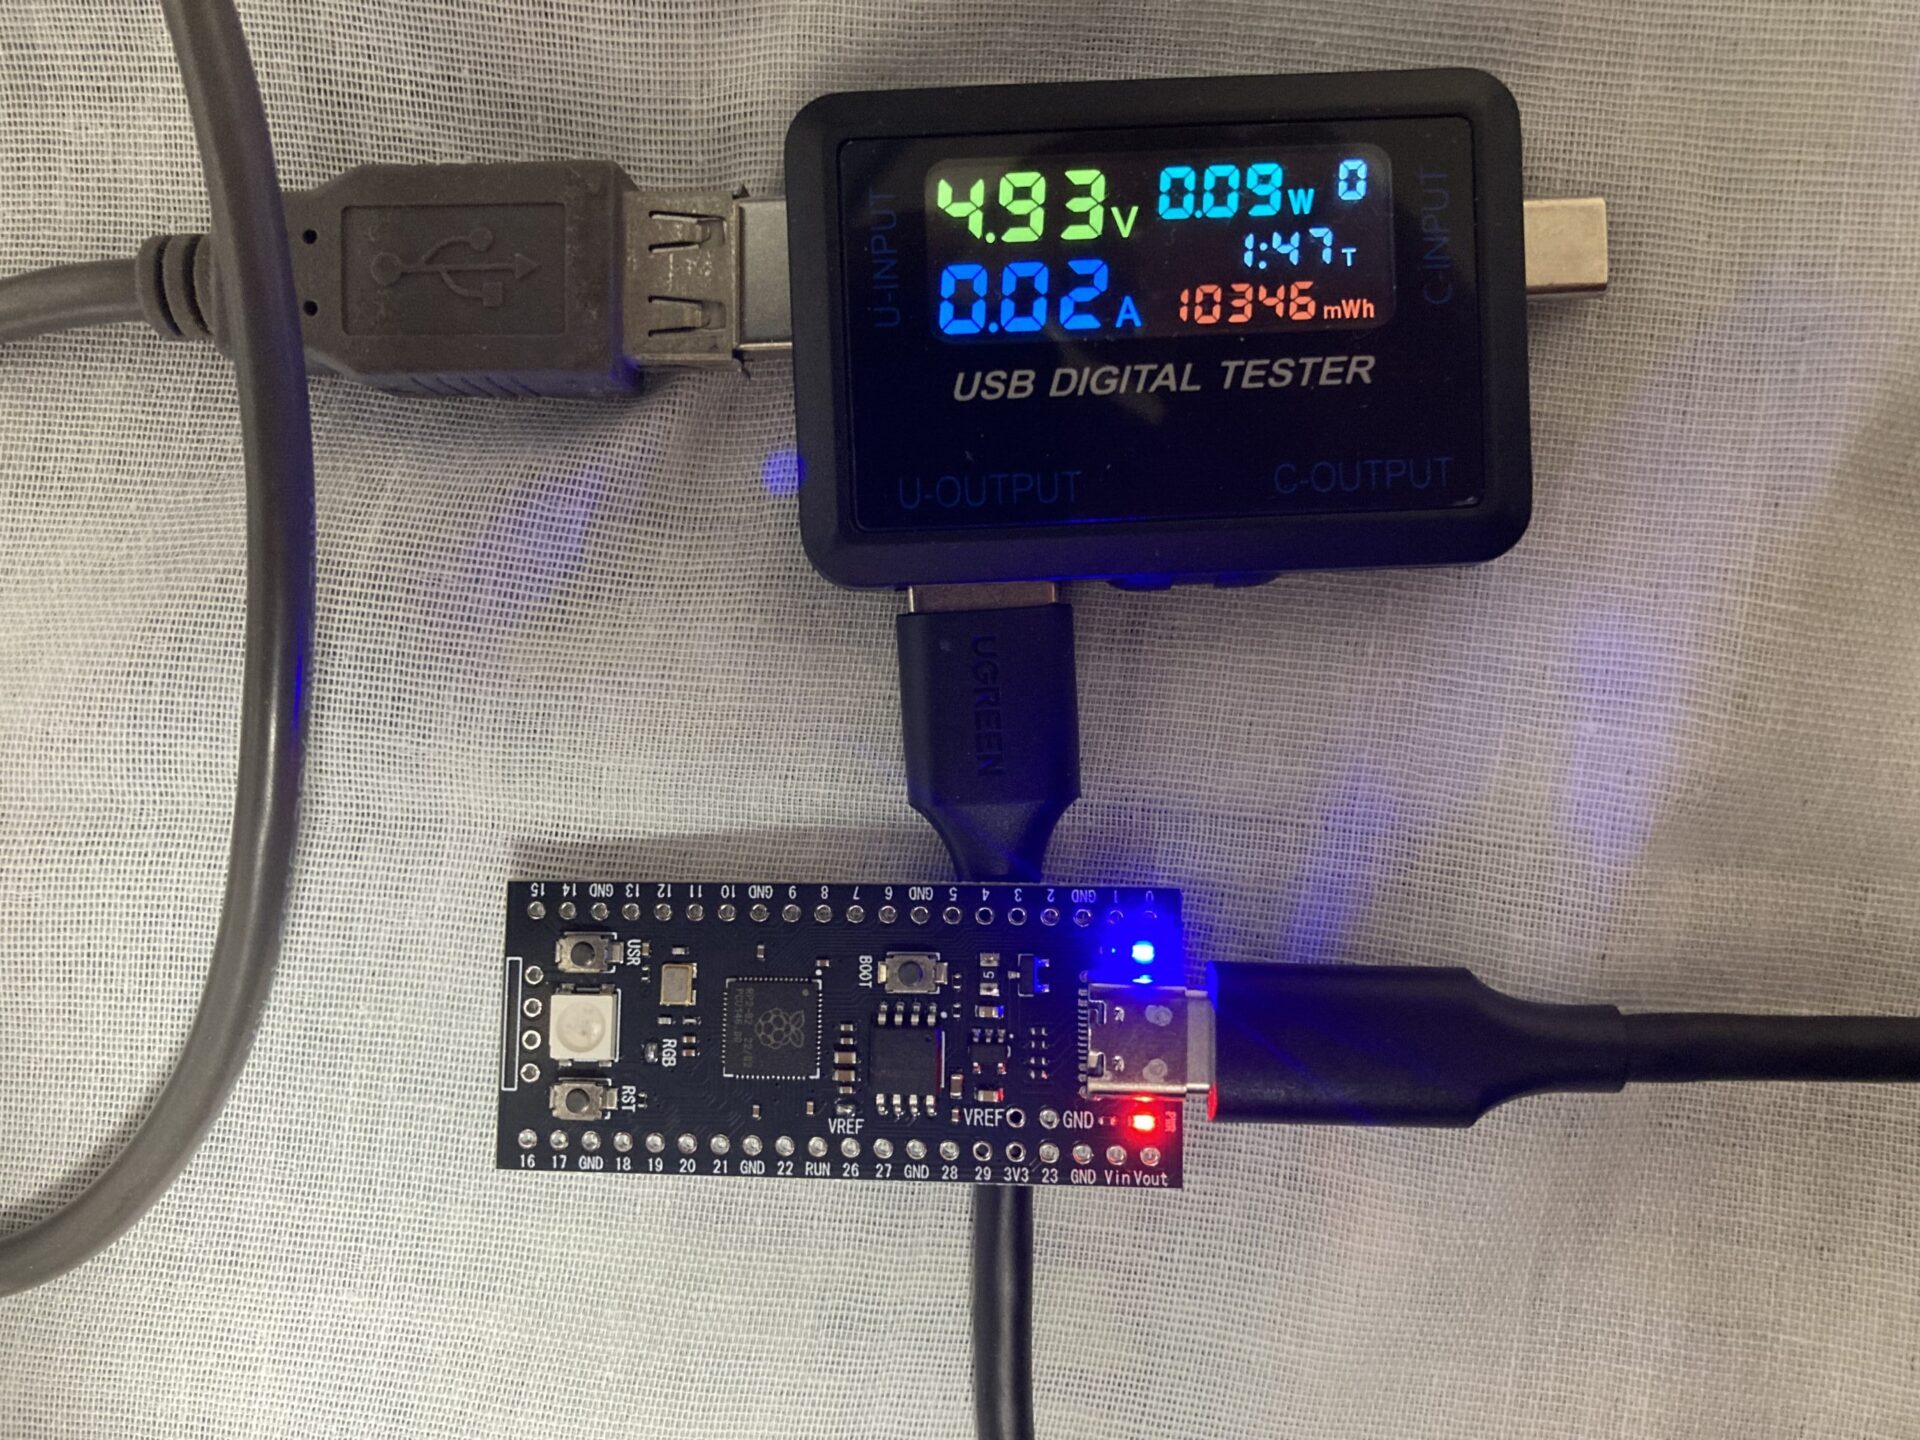
- Next, press the Pico’s reset button to reboot the board. This will automatically load the saved main.py and launch the LED blinking program.
Summary
Through the steps above, we have gone through the entire process of setting up the MicroPython environment and executing an LED blinking program using Thonny and a Raspberry Pi Pico compatible board.
- Important notes on Thonny settings during the first launch
- How to connect the Pico in boot mode
- MicroPython installation and configuration
- Steps for creating main.py and running the code
By practicing these steps, you can learn the fundamentals of development using MicroPython while experiencing the joy of interacting with actual hardware. Be sure to try out other projects as well!