Building PiKVM with Raspberry Pi 3, Pico, and a Budget USB Capture Board – Software Setup
Now that the hardware assembly is complete, the next step is the software setup. This article focuses on flashing pico HID to the Raspberry Pi Pico compatible board and using Raspberry Pi Imager to write the OS image for PiKVM V1 (for HDMIUSB, RPi3). Note that the purpose of this project is to monitor an ASRock Beebox, resulting in a simple configuration that does not use a PS/2 keyboard, mouse, or ATX controller.
Flashing pico HID to Raspberry Pi Pico
pico HID Flashing Procedure
- Download the Image
The flashing image for Pico, “pico-hid.uf2", can be downloaded from the GitHub releases page here. - Flashing Steps
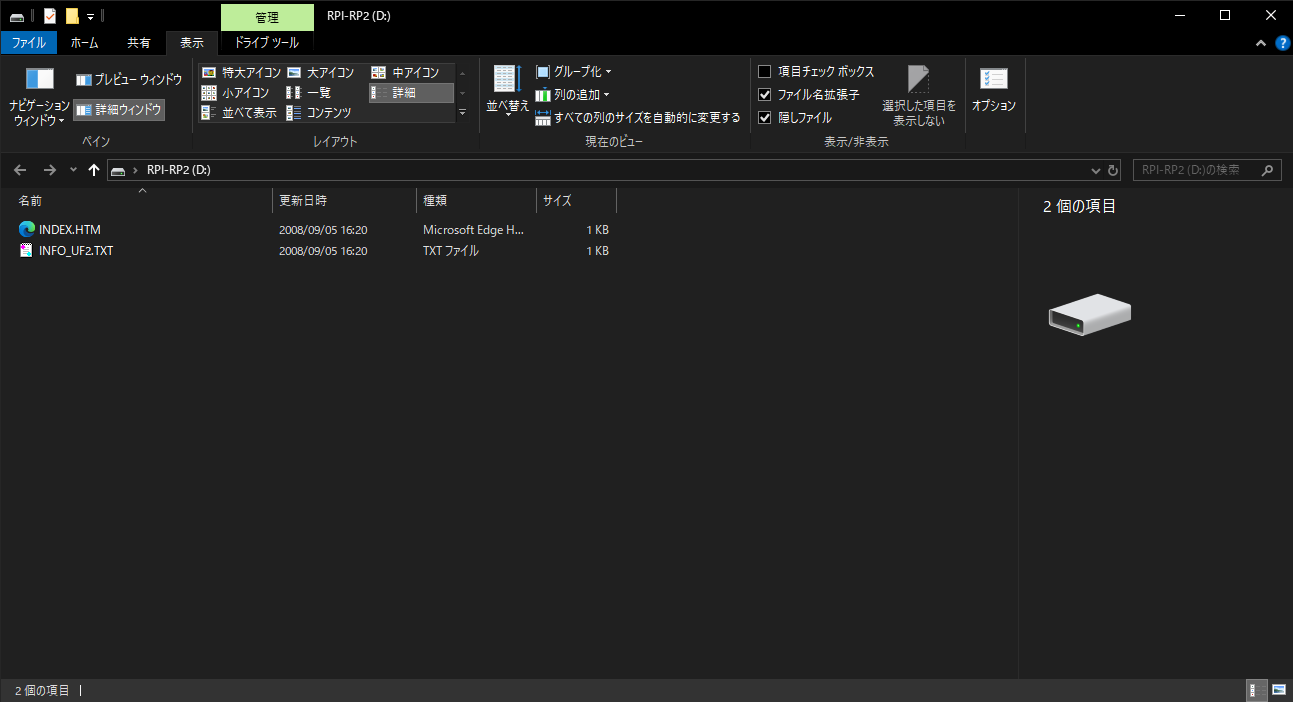
Connect the Pico to your PC via USB while holding down its boot button, and it will be recognized as a USB drive.
With the drive mounted, copy the downloaded “pico-hid.uf2" file to the USB drive.
* Since we are not using a PS/2 keyboard or mouse this time, the flashing is complete with just this step.

Flashing the PiKVM OS Image
Selecting and Flashing the OS Image
- Flashing Tool
Use Raspberry Pi Imager to flash the PiKVM V1 OS image (for HDMIUSB, RPi3).
* Please note that if you are not using a USB capture board or if you are using a different Raspberry Pi version, the required image will differ.

- Image Download Source
The OS image can be downloaded from the official website here.
Since downloading takes some time, I initially attempted a custom build, but gave up due to numerous errors and patiently waited for the official image to download instead. - Installing the Image
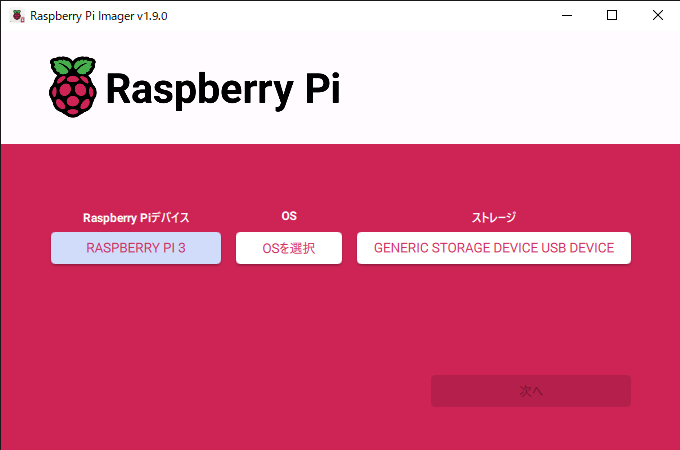
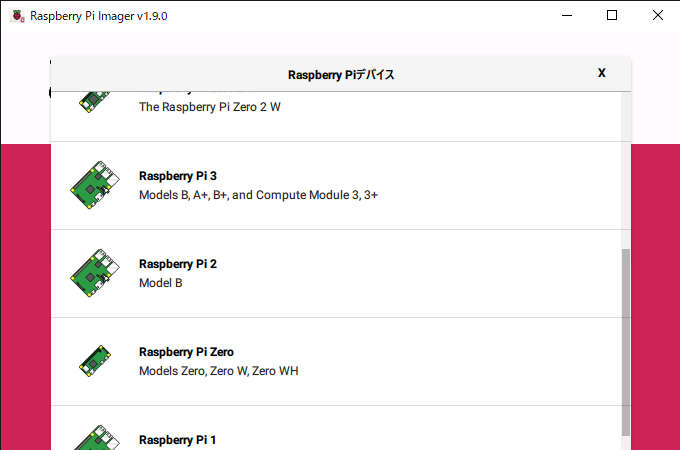
- Select Raspberry Pi Device
Select Raspberry Pi 3 for this project
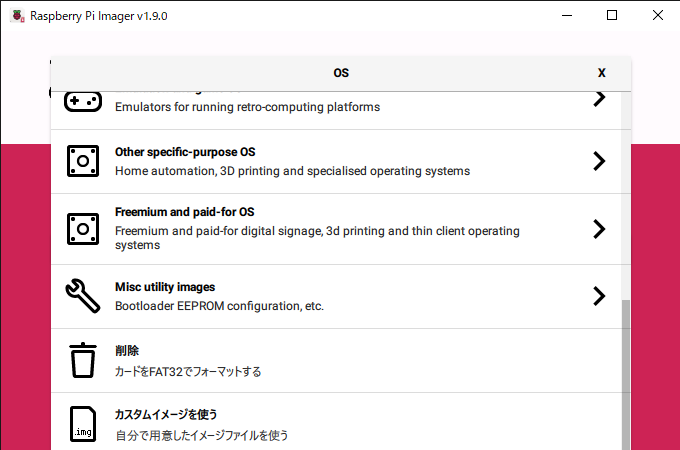
- Select OS
Select the downloaded custom image
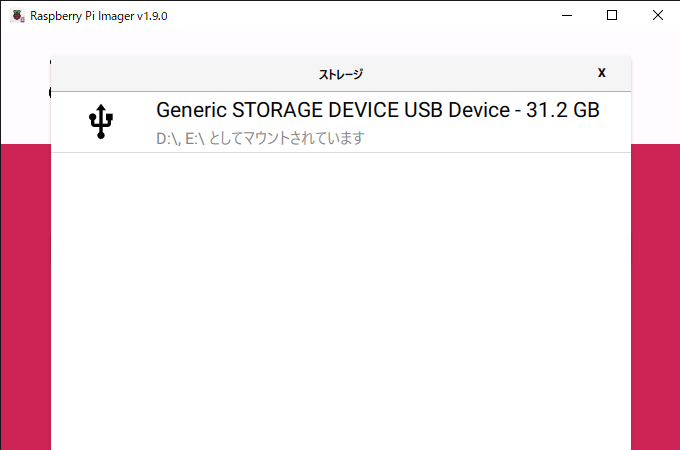
- Select Storage
Select the SD card to be inserted into the Raspberry Pi
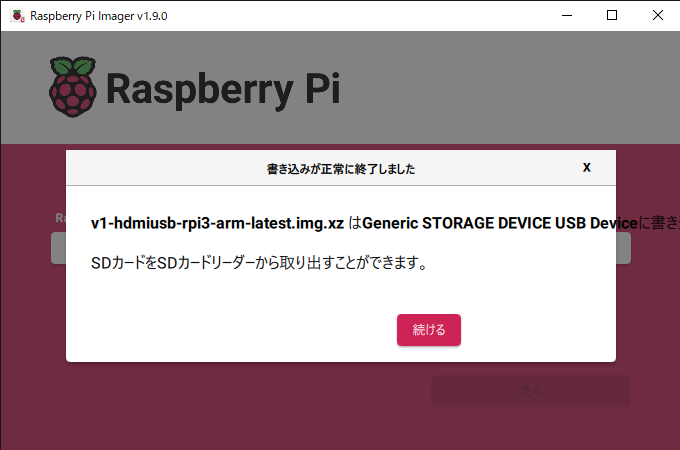
- Write OS Image
Click Next to start writing
- Select Raspberry Pi Device
Initial Setup After Installation
Browser Access
- Once the OS image has been written and PiKVM has booted up, access the PiKVM via a web browser. (Do you need to connect an HDMI cable to the Raspberry Pi to check its assigned IP?)
- Default login credentials:
User ID: admin
Password: admin
Troubleshooting When the Screen Does Not Display
If the PiKVM screen does not appear in your browser, modify the settings from the console using the following steps.
- Access the Console
Log in to the console as the root user (initial password: root). - Editing
Switch Filesystem to RW Mode
Edit /etc/kvmd/override.yaml
Apply Changes
[root@pikvm ~]# rw
[root@pikvm ~]# vim /etc/kvmd/override.yaml
kvmd:
    streamer:
        forever: true
        cmd_append: [--slowdown]
[root@pikvm ~]# ro
[root@pikvm ~]# systemctl restart kvmd
This should allow the target server’s screen to be displayed correctly.
Initial Troubleshooting and Lessons Learned
In the early stages, I mistakenly connected the wiring between the Pico and Raspberry Pi 3 incorrectly, which caused continuous SPI connection errors. Re-verifying the correct wiring and resetting the HID resolved the issue, but it made me acutely realize how crucial it is to check hardware connections before setting up the software.
Conclusion
In this software setup, we covered flashing pico HID to the Pico compatible board, writing the PiKVM V1 OS image using Raspberry Pi Imager, and troubleshooting initial configurations. By following the official documentation (PiKVM V1) and GitHub release information step-by-step, we successfully completed a simple and stable PiKVM system tailored for monitoring the ASRock Beebox.
Continued in Case Creation Edition