DIY Smoke Extractor for Efficiently Removing Soldering Fumes
This time, I built a DIY smoke extractor to efficiently suck away the smoke generated during soldering. By combining a spare PC case fan, a 3D printer, and parts obtained from AliExpress, I managed to create a compact and low-cost unit. I will introduce in detail what materials I used, how I assembled it, and how I tested it.
Materials and Parts List
- Fan: 8cm diameter fan removed from a PC chassis
- Filter Frame: Custom 3D printed part
- Filter: HEPA-style carbon air filter purchased on AliExpress (approx. 300 yen)
- Board & Connectors: Universal PCB + pin header connectors from AliExpress
- Masking Ink: UV-curable type (for insulation and protection of metal parts) (approx. 300 yen)
https://amzn.to/42OpPcZ
- Power Supply: Portable power bank + DC–DC step-up converter (5V→12V)
- Tools: Soldering iron, utility knife, UV light, 3D printer, etc.
Frame Design and 3D Printing
Role of the Frame
Designed a frame that securely holds the filter while allowing for easy attachment and removal.
- Created slots for the filter and the fan
- Added a hole to route the fan wiring
Processing the Connector Section
Soldering the Pin Headers
Soldered the pin header connectors purchased from AliExpress onto the universal PCB.
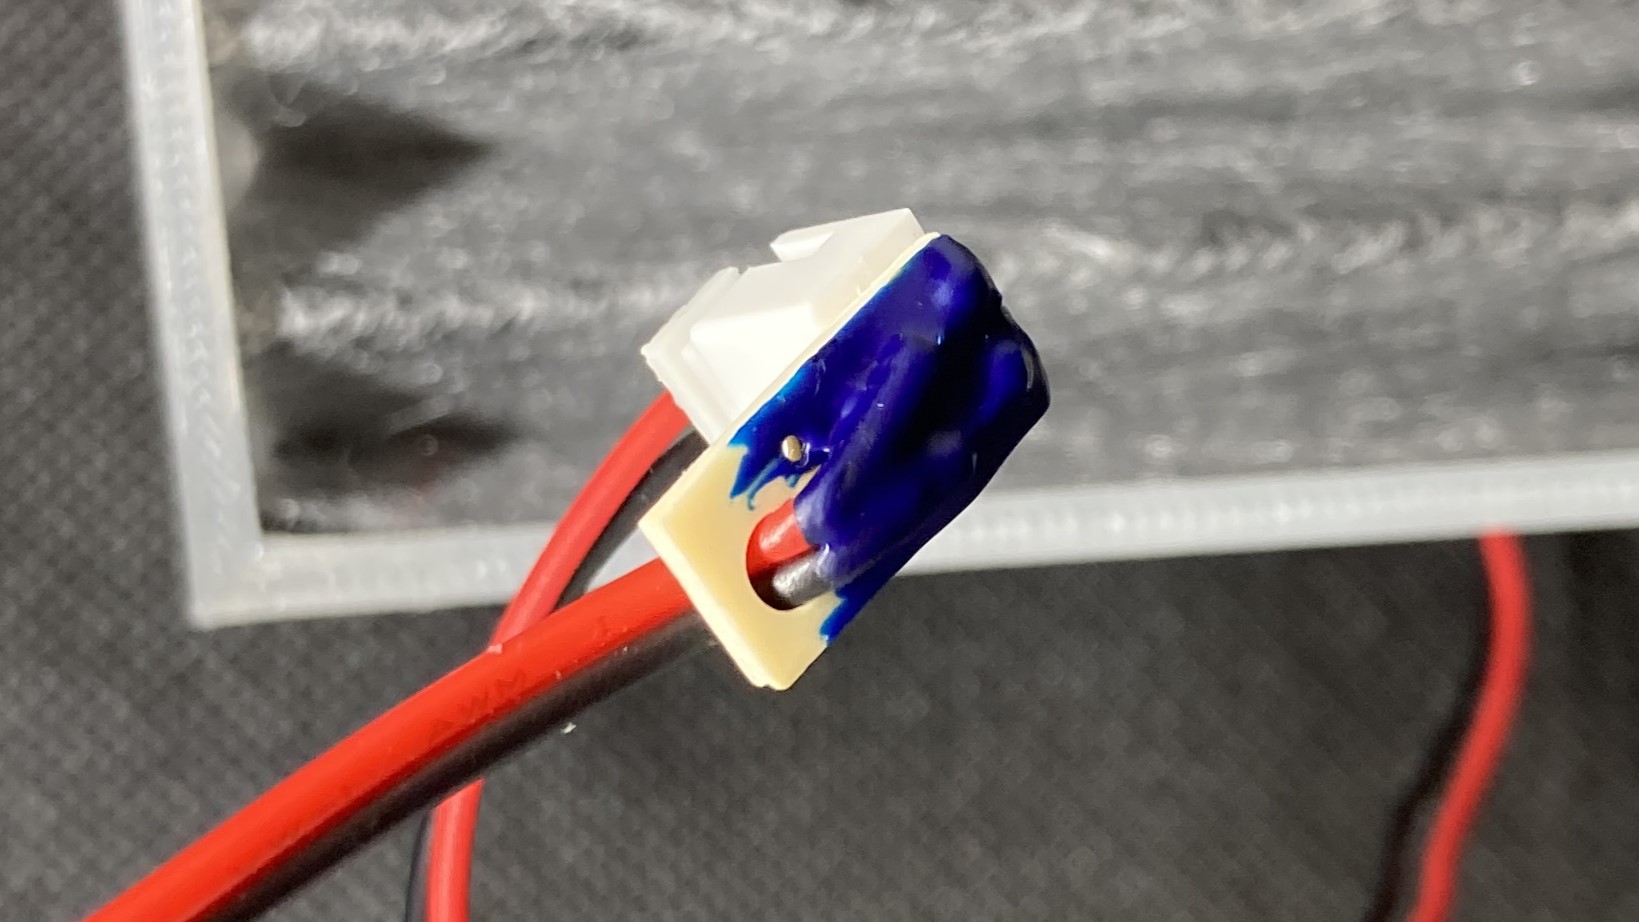
- Protected with UV-curable masking ink
- Applied masking ink to the metal parts and cured them with a UV light for insulation and protection

Power Supply Configuration
- Portable power bank (5V output)
- DC–DC step-up converter (step-up operation verified)
- Wiring: Bundled with heat-resistant tubing for improved safety
Preparing the Filter
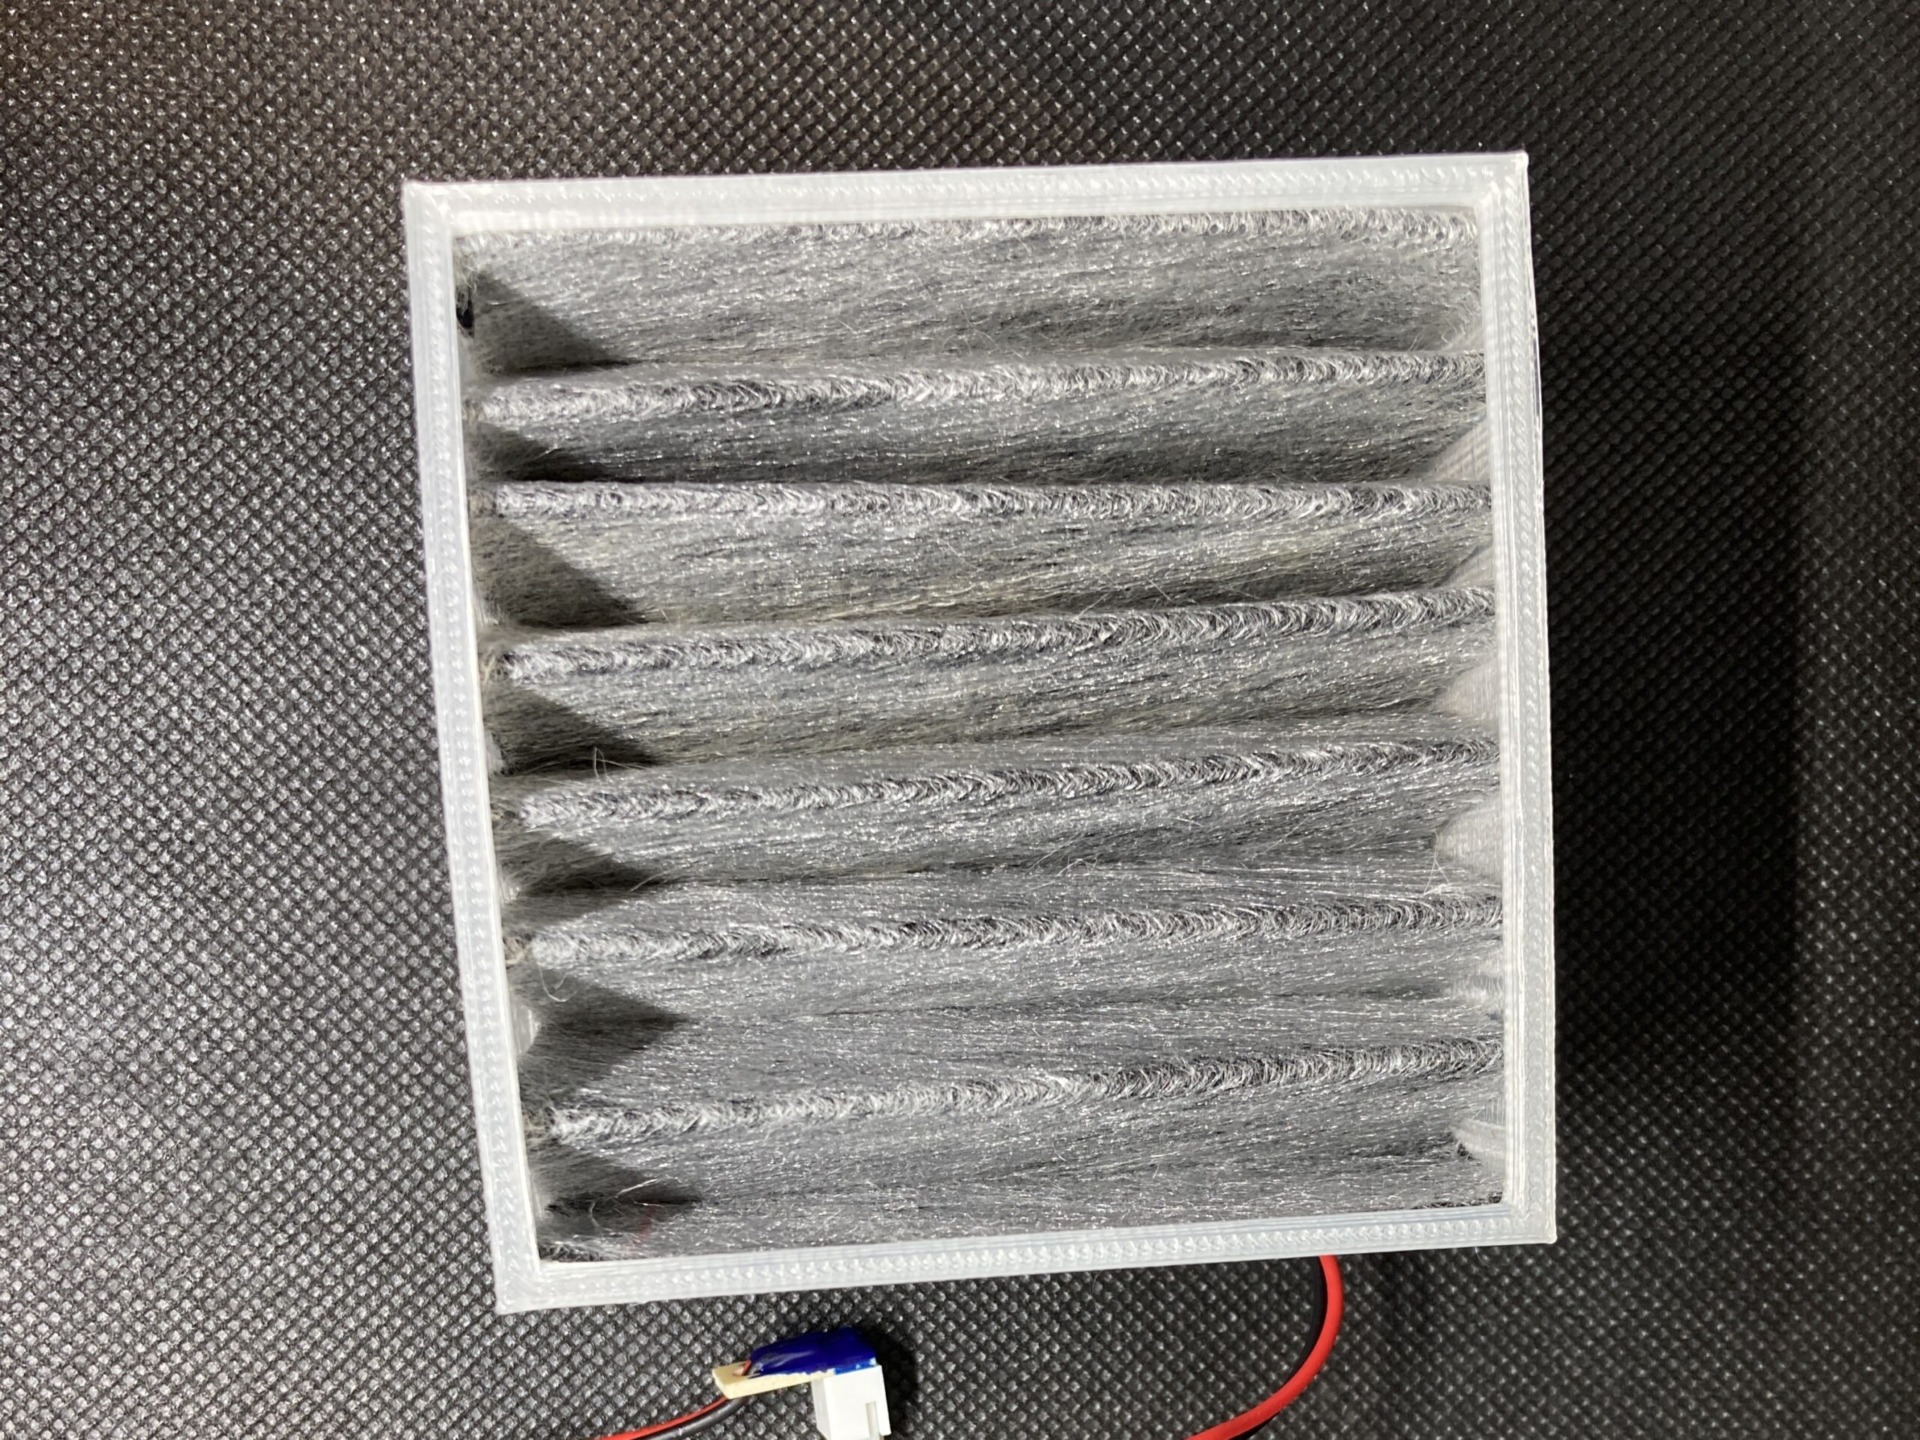
Cut the HEPA-style carbon air filter purchased from AliExpress to the required size and set it in the frame.
Testing & Adjustment
Incense Test
I tried letting it draw in smoke from incense, but the amount of smoke was too small to notice much difference…
Verification with a Compact Smoker
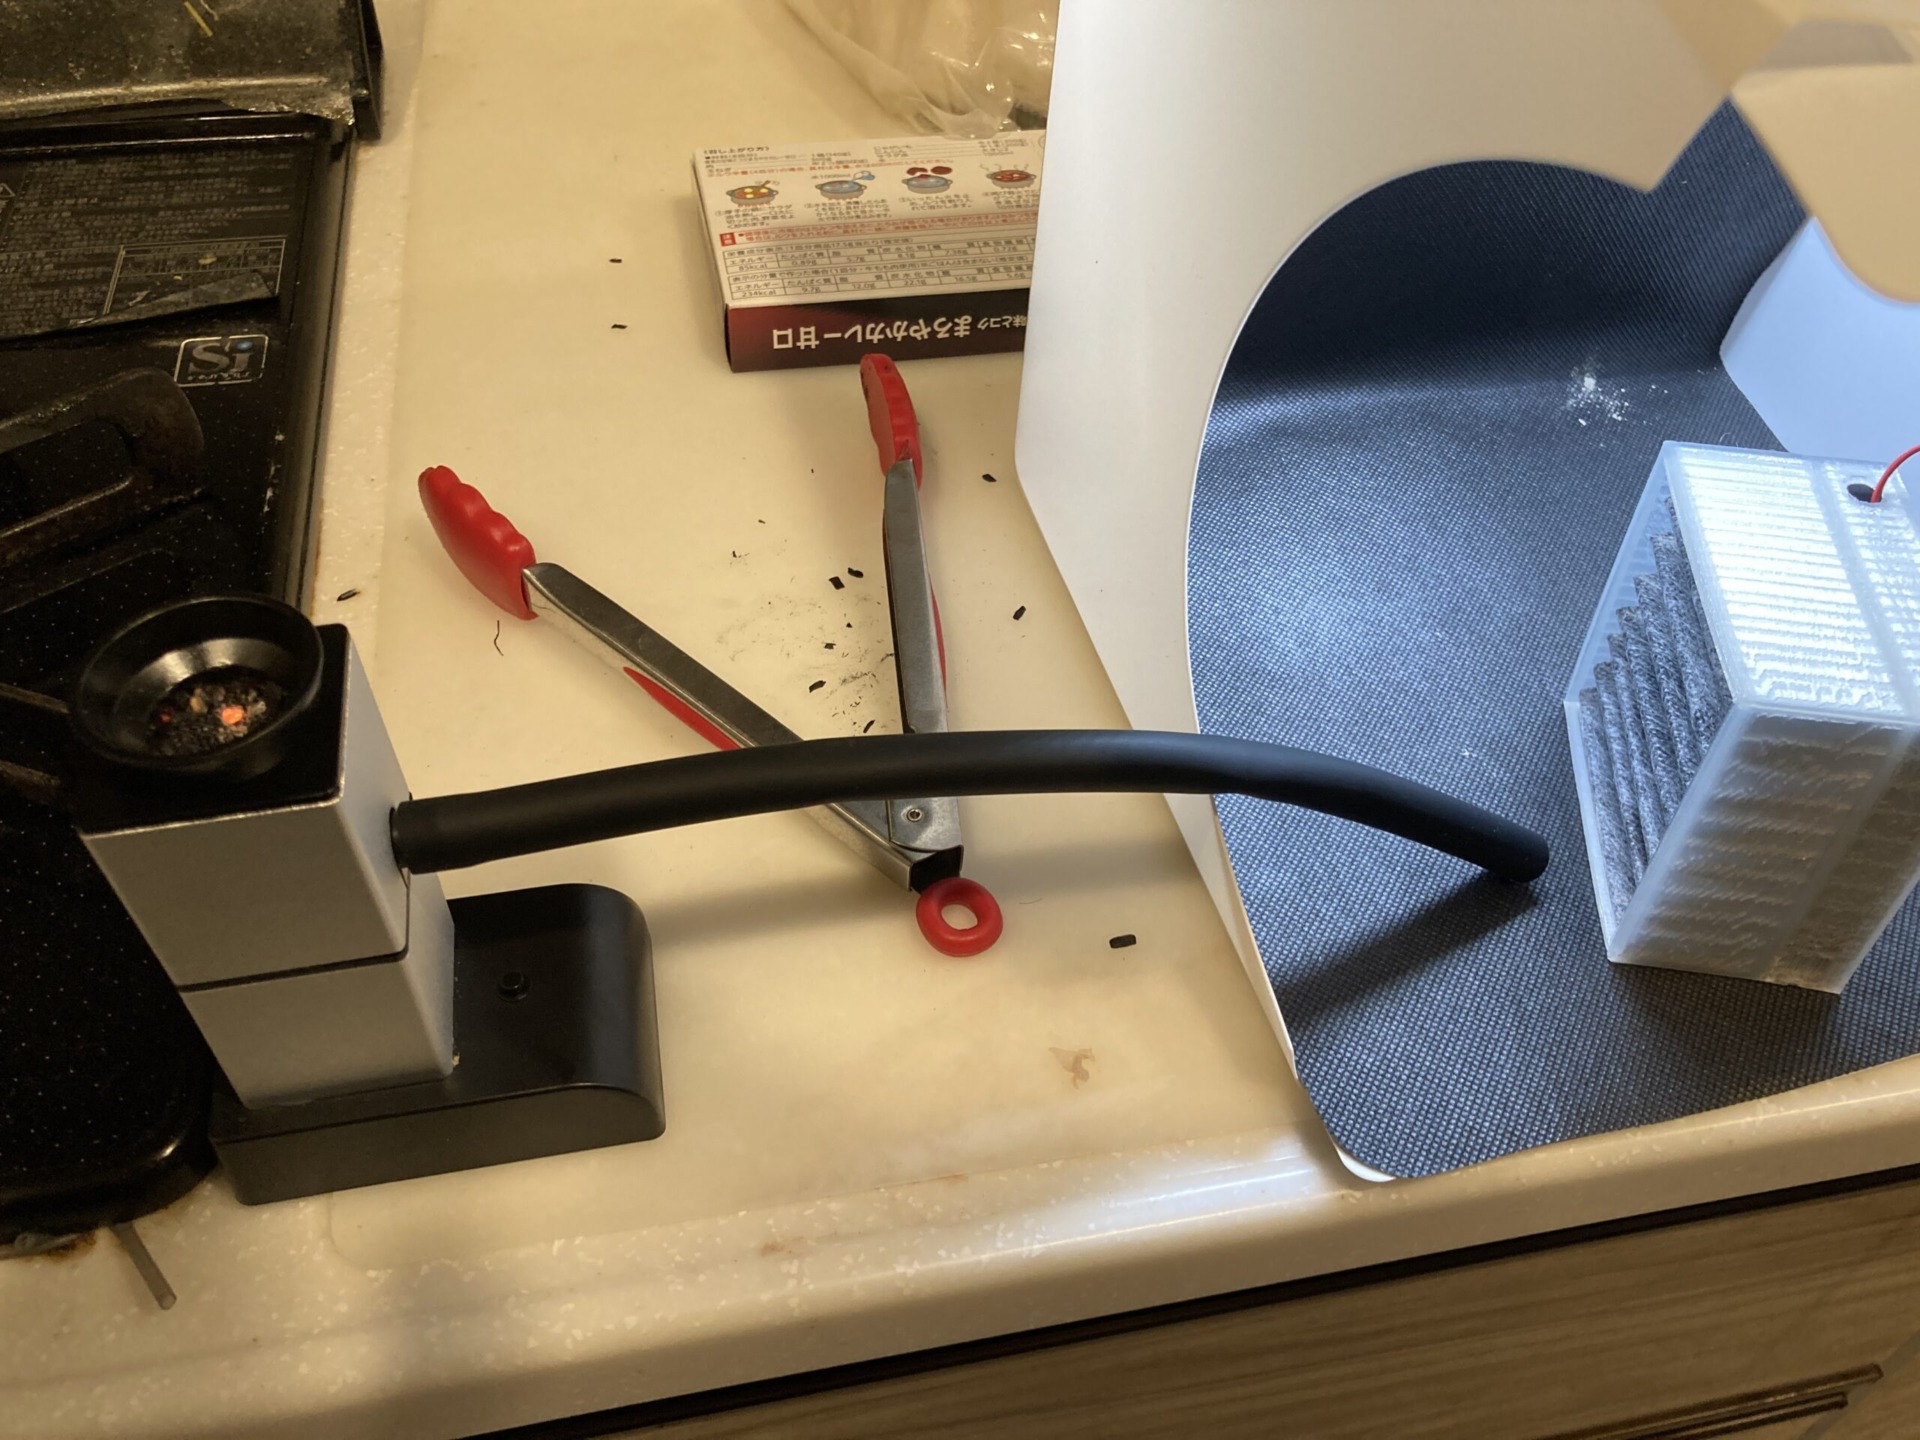
Using a smoker produced a surprising amount of smoke!
- Initially panicked as it sucked in too much smoke
- Adjusted the smoke volume by reducing the amount of fuel (chips)
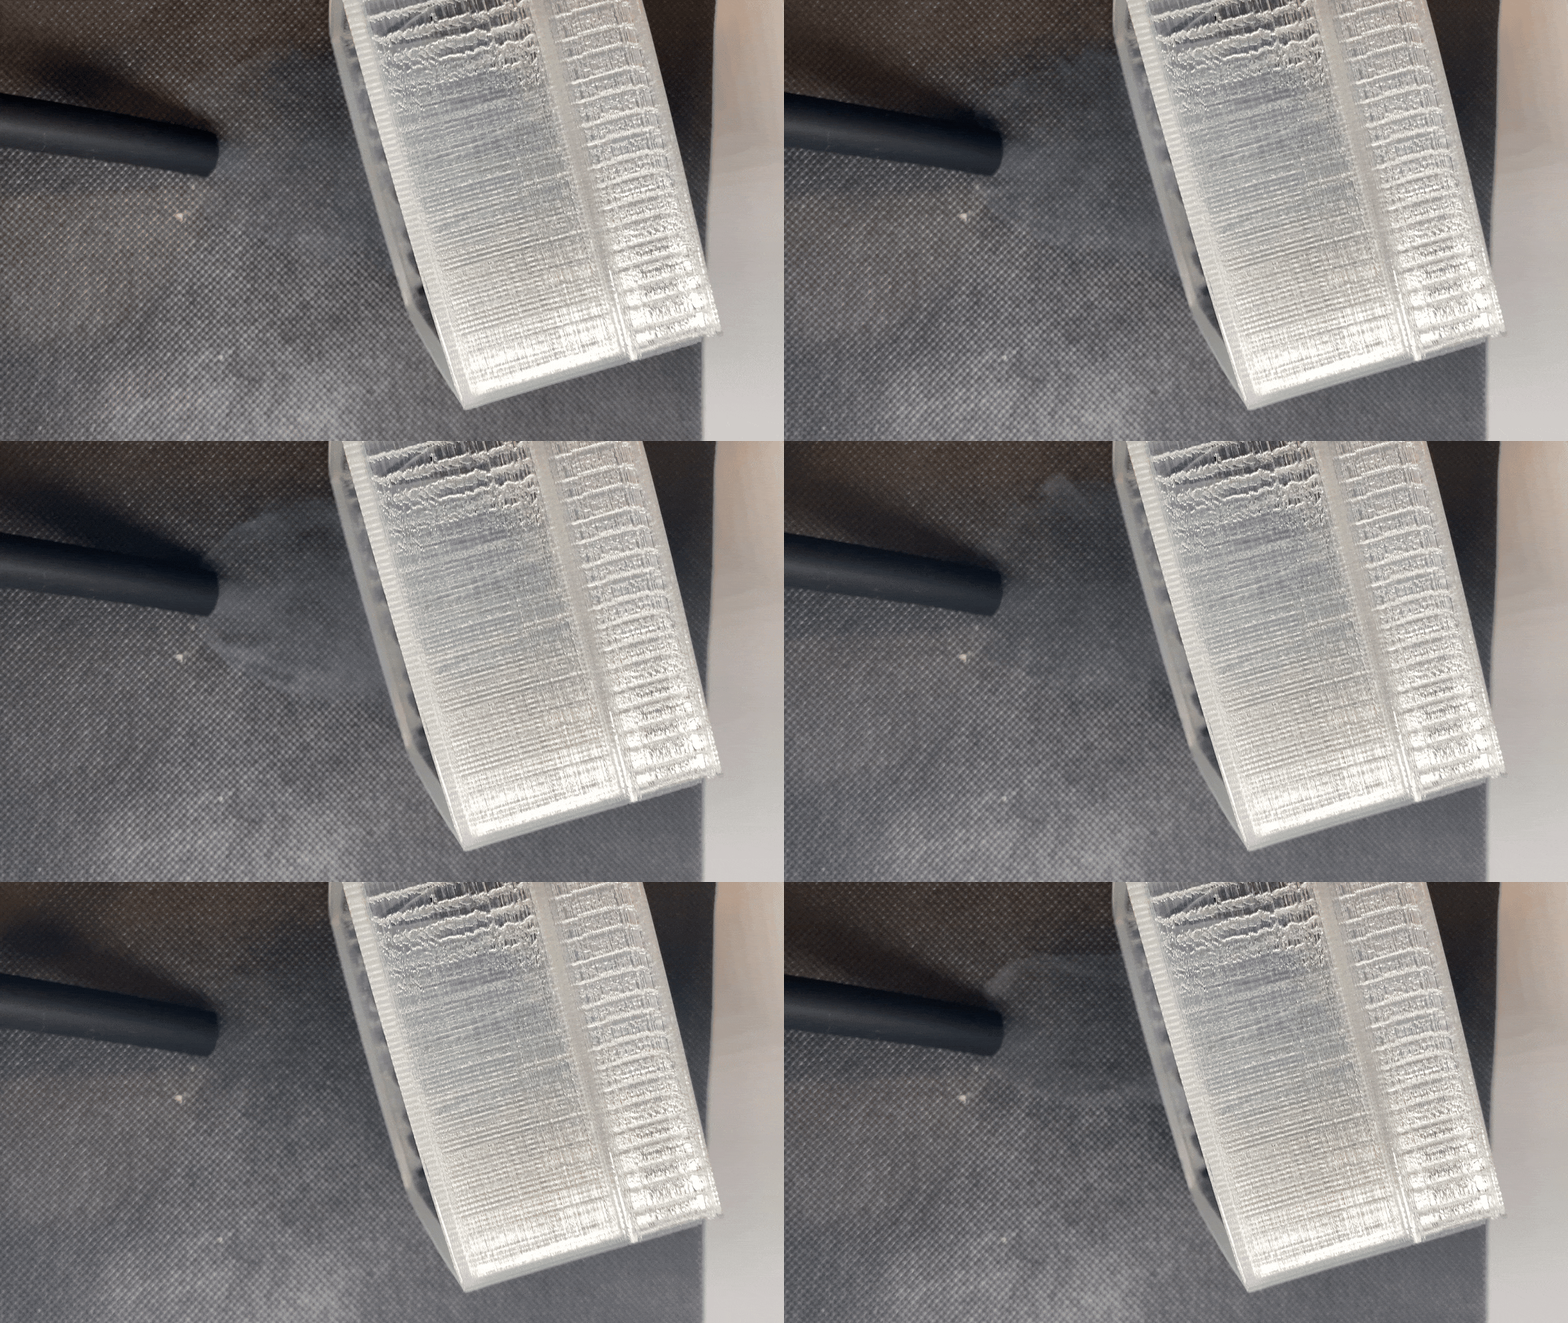
In the end, the wind resistance of the filter and the airflow of the fan balanced out just right, confirming the ideal operation of “steadily pulling in the gently rising smoke."
Conclusion
For this DIY smoke extractor, the material cost is only a few hundred yen, excluding the portable power bank. Anyone can easily build one if they have a 3D printer. It dramatically improves the safety and comfort of soldering work, so please give it a try!
I would love to hear from you in the comments if you have any questions or suggestions for improvement.