I Tried 3D Printing Wall Hooks That Attach with a Stapler
The wall space beside the kitchen tends to become a “dead space," doesn’t it? While I wanted to use it as storage, I didn’t want to deal with any major construction work. That’s when I discovered a handy hook system that can be fixed to walls using a standard stapler (I’ll avoid mentioning specific brand names, but it’s the kind you can find at home improvement stores).
However, even with “staple-fixing," securely mounting it without damaging the wall takes a bit of ingenuity. Instead of just using standard hooks, I decided to add my own twist to create a bar that’s perfect for kitchen organization.
Materials and Preparation
First, I cut a piece of plywood to a manageable size to serve as a backing board. By fixing this board to the wall with a stapler, I could minimize the risk of directly damaging the wall surface. Furthermore, instead of using regular hooks, I decided to use PVC pipes to create a hanging bar where S-hooks could be attached.
While standard gray VP pipes are commonly available for PVC plumbing, I felt they looked a bit too plain and uninspiring. So, this time I chose beige VE pipes, which, although slightly more expensive, offer a much nicer appearance. The 16mm diameter VE pipe (2 meters long) was purchased at a Kohnan home center.
3D Printed Parts
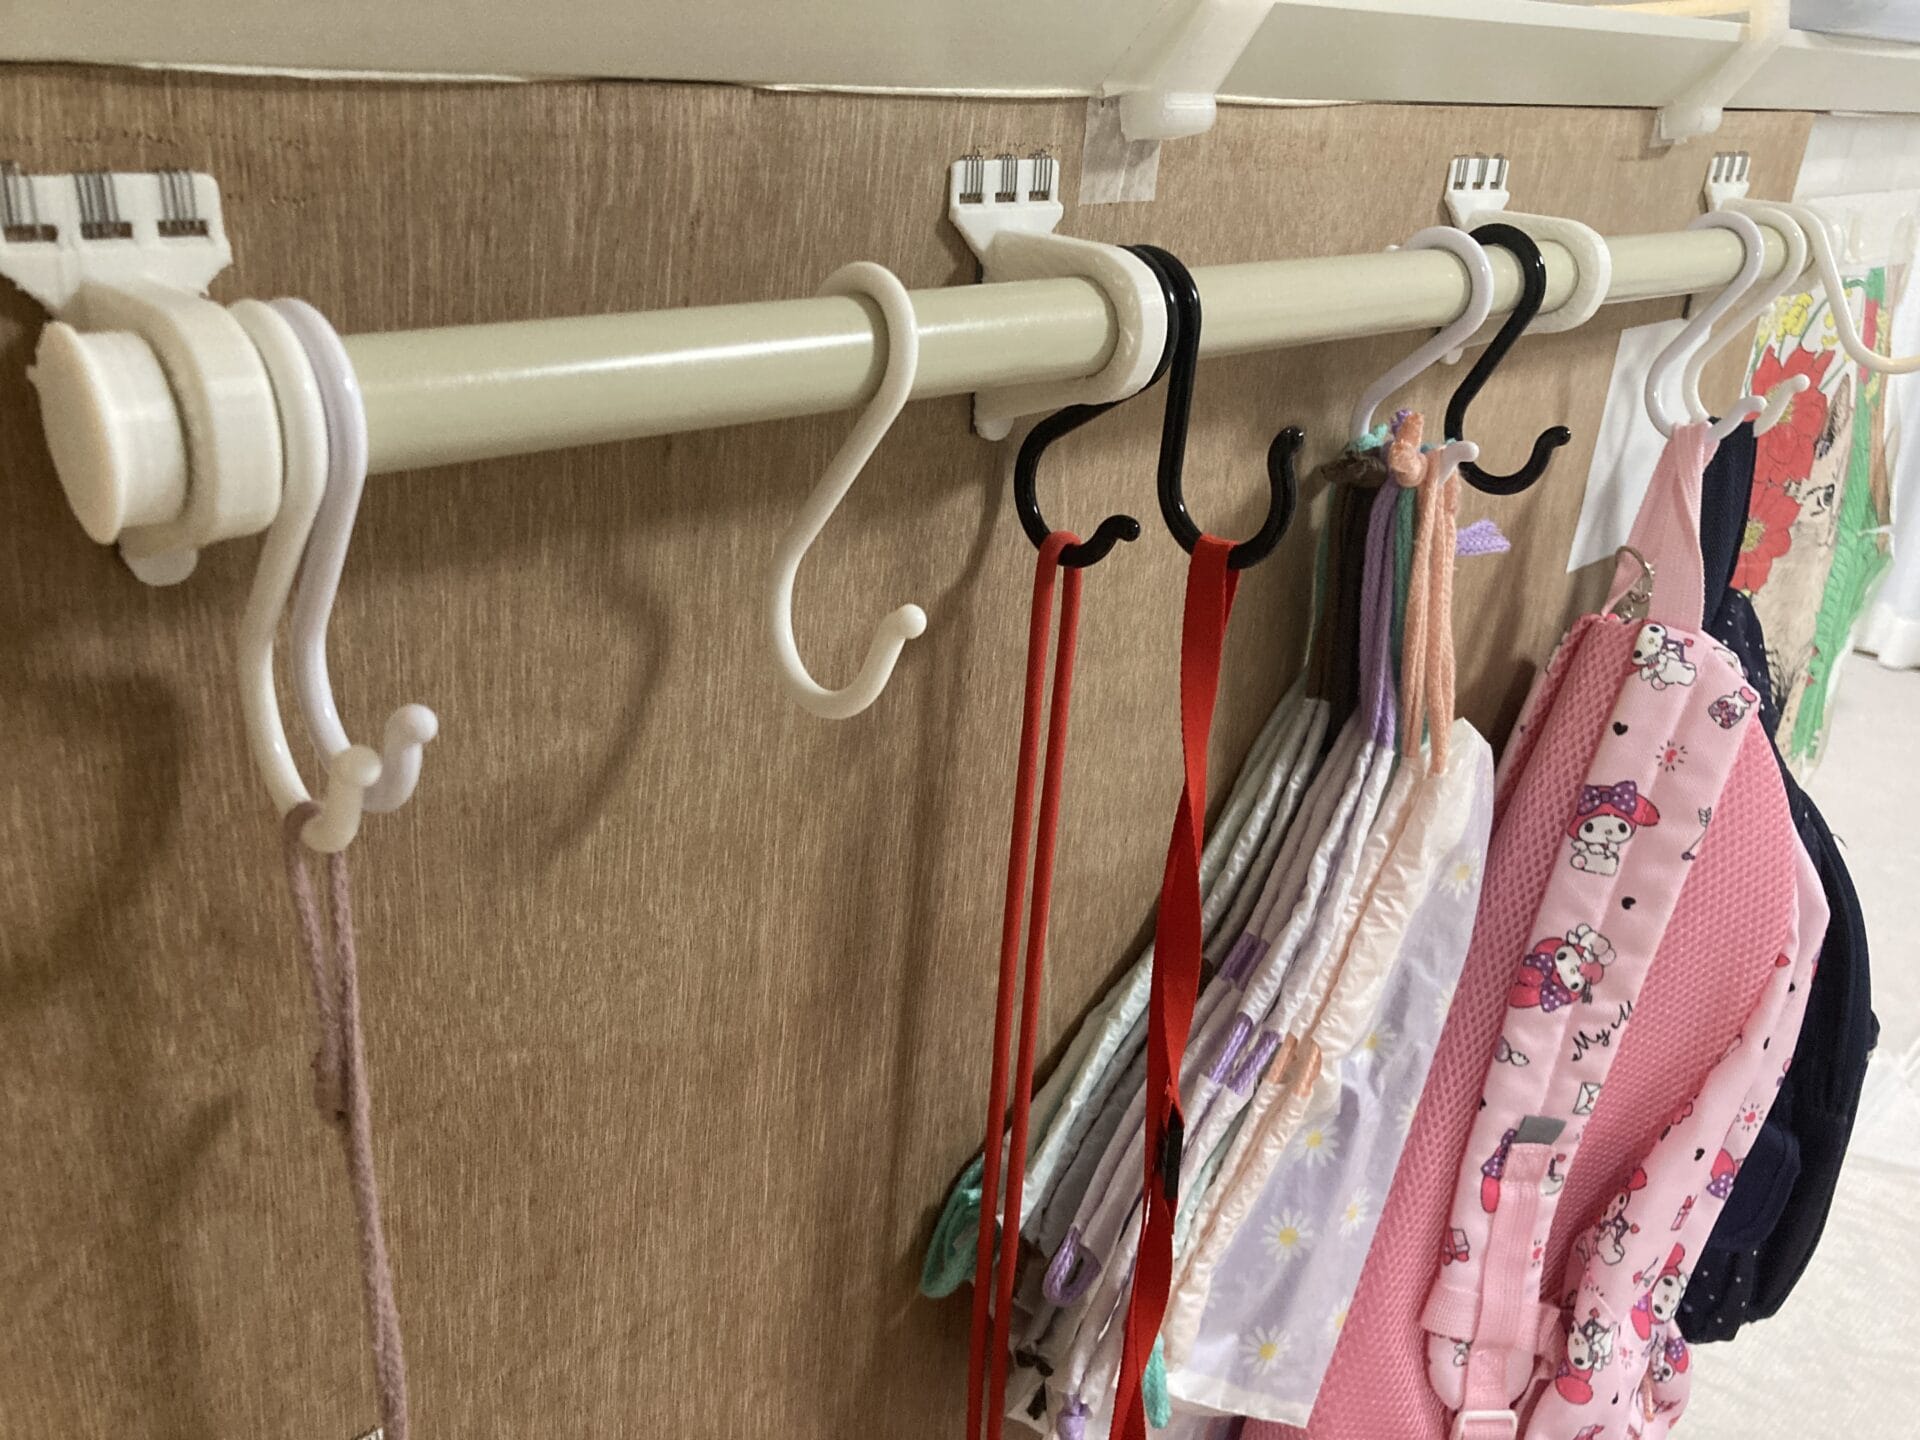
To mount the VE pipe to the wall, I designed and printed custom parts using a 3D printer. These parts feature the following characteristics:
- Pipe-passage hole: Designed with a precise diameter for the VE pipe to pass through snugly.
- Staple-mountable structure: Designed with a flat section on the back so it can be secured to the plywood using a stapler.
However, depending on the printing orientation of the 3D printer, these parts can be prone to layer separation or cracking. Therefore, caution is required when hanging heavy objects.
I also designed and printed end caps to attach to the ends of the bar. This gives it a clean, finished look while also improving safety.
Installation Process
- Plywood Preparation: Cut the plywood to match the wall dimensions and fit it into place.
- Attaching 3D Printed Parts: Secured the printed brackets to the plywood using a stapler.
- Installing the VE Pipe: Inserted the VE pipe through the brackets and attached the end caps to finish.
Load Capacity and Precautions
I don’t have an exact measurement for the load capacity of the parts I made. Due to the nature of 3D printing materials and design constraints, hanging items that are too heavy could cause the parts to crack or detach. Therefore, I’ve limited its use to hanging lightweight kitchen utensils (such as ladles and spatulas).
Sharing 3D Models
I am sharing the 3D models I created on Patreon!
🎨 Two Ways to Get Them!
- Individual Purchase: Buy your favorite models one by one from the shop.
- Membership: Join the monthly membership for unlimited downloads of all 3D models in the shop!
💡 Membership Benefits
- Early access to the latest 3D models
- Exclusive access to behind-the-scenes making-of content and unreleased data
- Enjoy direct communication with me!
Become a member and enjoy my original 3D models.
Conclusion
Starting from a small idea to utilize the wall space beside the kitchen, I leveraged my 3D printer to create an original storage bar. Between the easy staple-based installation and the aesthetic touches, I’m quite satisfied with the result.
I plan to keep experimenting with more 3D-printed DIY ideas going forward. Next time, I’m thinking of challenging myself to design parts with enhanced load capacity or for other applications.