How to Display 3DCG in WordPress
Previously, when introducing the staple-attached wall hook, I embedded a 3DCG model into the article. Embedding 3DCG models in blogs and websites enhances visual appeal and helps capture visitors’ interest. In this article, I will explain the step-by-step process of how to display 3DCG in WordPress.
Prerequisites
- Access permissions to the WordPress dashboard.
- A 3DCG model file (.glb format). In this guide, we will use FreeCAD to create it.
- Installation of the WordPress plugin “3D Viewer".
Installing the 3D Viewer Plugin
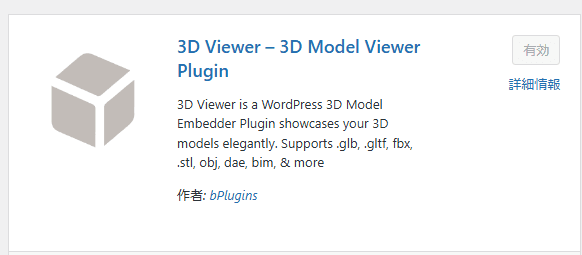
First, install the “3D Viewer" plugin in WordPress.
- Click “Plugins > Add New" from the left menu of the WordPress dashboard.
- Type “3D Viewer" into the search box, and click the “Install Now" button on the plugin displayed in the search results.

- After installation, click the “Activate" button.
Creating a .glb File
To display a 3DCG model, a file in .glb format is required. This time, we will use FreeCAD to create the .glb file.
- Create or open a 3D model in FreeCAD.
- Edit and refine the shape as needed.
- Check the created model by rotating or zooming in and out.
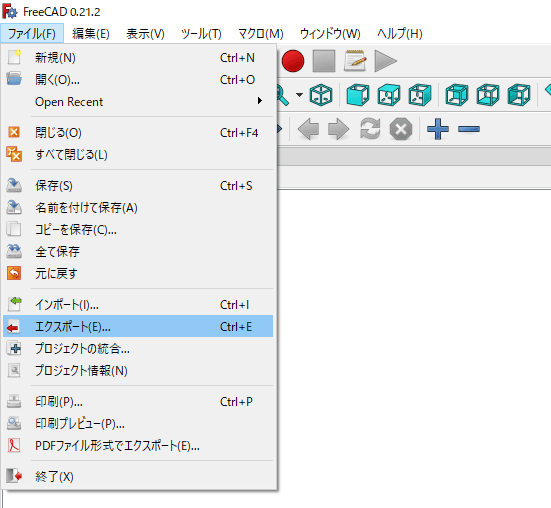
- Select “Export" from the File menu.

- Select “GLB File (.glb)" as the save format and save the file.


Uploading the .glb File to 3D Viewer
Next, upload the created .glb file to WordPress and embed it into your blog post.
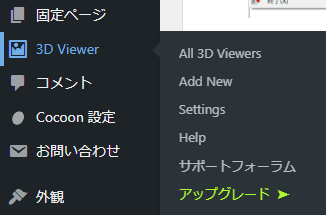
- Click “3D Viewer" from the left menu of the WordPress dashboard.

- Click the “Add New Model" button.

- Click “Choose File" and select the created .glb file.

- Enter a title and description as needed, and click the “Save" button.






Inserting the 3DCG Model into the Post
Here is how to insert the uploaded 3DCG model into the article body when using the Classic Editor.
- Copy the shortcode of the created model from the 3D Viewer page.

- Open the blog post editing screen.
- Insert the shortcode in the location where you want to embed it.
- Check the preview to make sure it displays correctly.

If you are not using the Classic Editor, you can likely add it using the following steps:
- Open the blog post editing screen.
- Click the plus button (Add block), search for “3D Viewer", and add it.
- Select and embed the 3D model you want to display.
Publishing
Finally, publish the article.
- Click the “Preview" button in the upper right to check how the model works.
[3d_viewer id=192] - If there are no issues, click the “Publish" button to make your blog post live.
Conclusion
That covers how to display 3DCG models in WordPress. From creating .glb files using FreeCAD to embedding models via the 3D Viewer plugin, you can easily incorporate 3DCG into your blog. Give it a try!