Setting Up Chrome Remote Desktop
Nowadays, the demand for accessing home computing resources from anywhere is extremely high. While dedicated client software and browser extensions were once mainstream, Google’s “Chrome Remote Desktop" has undergone a major transition. It is no longer provided as a standalone application; instead, it has been integrated into a web-based service where all management and connections are completed entirely within the browser. This shift eliminates the hassle of installing software and represents a major step forward in providing a seamless operating environment across different operating systems.
Specification Changes and Operational Hurdles Caused by Browser Migration
Chrome Remote Desktop has now completely transitioned from the traditional “app-type" to a “web portal-type" that handles everything within the browser. Referencing outdated information without knowing about this change can cause stumbling blocks during the setup phase. In addition, the specific keyboard layouts and mouse cursor behaviors unique to iPadOS can often cause unexpected behavior during remote operations on Windows or Linux. Furthermore, depending on the network environment at home, private IP address conflicts or firewall restrictions may arise, hindering stable connections.
Latest Connection Procedure Completed via Browser
The specific steps to solve these challenges and build a robust remote environment are detailed below.
Unifying the Infrastructure with the Same Account
To establish remote access, you need to access [remotedesktop.google.com/access](https://remotedesktop.google.com/access) using the same Google account on both your controlling iPad and your controlled home PC. This establishes a secure, authenticated session via Google’s infrastructure.
Device Linking and Initial Setup
On your home PC (the host), link the device to your Google account. Open the Chrome browser in a Windows 10 (or higher) or macOS 10.13 (or higher) environment, and install the remote access software from the setup-dedicated URL (g.co/crd/setup). At this time, follow the browser prompts to ensure that the device is correctly registered to your account.
Registering the Destination Device and Security
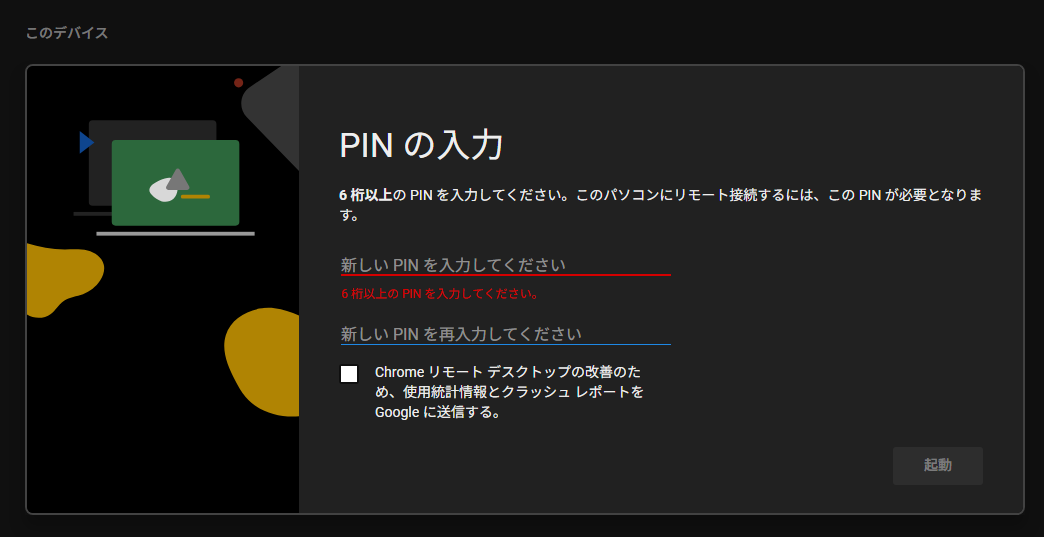
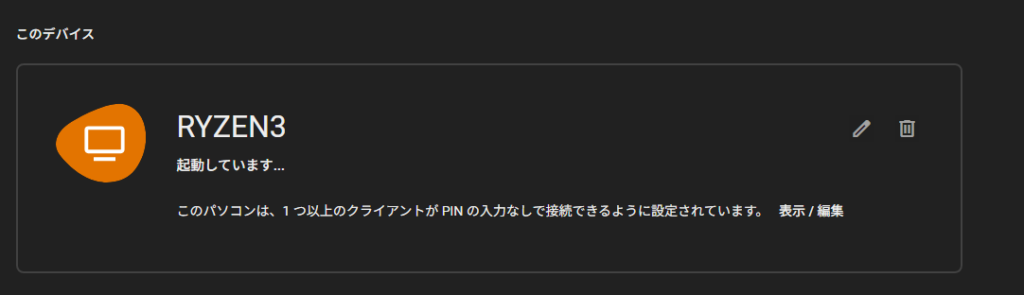
Set an arbitrary “display name" to identify the connection, and enter a “PIN (password)" required every time you connect. This PIN acts as a second layer of protection in addition to Google account authentication, so a combination of alphanumeric characters that are hard to guess is recommended. Once registration is complete, the host PC will appear as “Online" on the management screen.
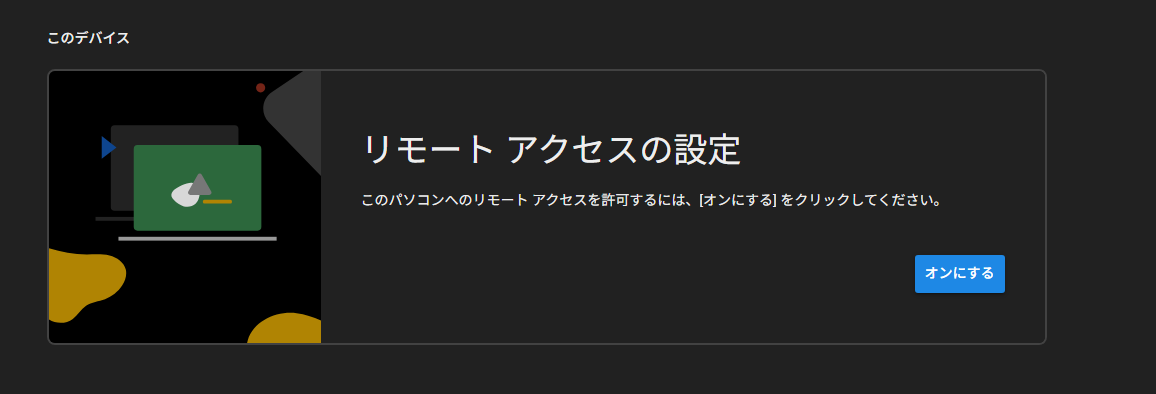
Turn On
Entering the PIN
Registration Complete
Executing Remote Connection
Open [remotedesktop.google.com/access](https://remotedesktop.google.com/access) from the browser on your iPad, select the registered device, and enter the PIN to immediately start the remote desktop session. If more advanced management is required, you can also use a VPN like “Tailscale" in combination beforehand to doubly ensure the stability of SSH connections during command-line interface (CLI) operations.
Conclusion
In this article, we introduced how to build a remote control environment using Chrome Remote Desktop. Specific tasks included installing software on the home PC acting as the host and linking it to a Google account, as well as the connection setup procedures on the iPad client side. This has allowed us to set up a modern remote work environment that completes entirely within the browser without the need for a dedicated app.